Gen GST is a complete software solution which is developed by SAG Infotech and is available in both desktop and cloud versions. The software allows unlimited return filings for registered taxpayers. The GST software provides billing, filing, e-invoicing and e-Waybill and is able to complete all your compliance immediately. Currently, the Gen GST software facilitates monthly, quarterly and annual return filing.
A new functionality E-Mail/WhatsApp facility is enabled in GEN GST Software, where Users can send multiple files Reports/Preview/Acknowledgement) to multiple clients in a Single Click.
Latest Update
- The Chennai Commissioner of GST and Central Excise has published the trade notice 01/2022 related to launching a Whatsapp / E-mail communication facility for taxpayers. read more
Gen GST Software E-Mail/ Whatsapp Functionality for Sending Multiple Files
Step 1: To use this facility User needs to Click on Reports–>Summarised Details
At Summarised Details Dashboard we get
- Client Details:– Here we can choose to select Trade name, GST no. PAN no etc fields which we want to see in the report
- Return filing:– It contains the type of GST return filing
- Return:– It consists of portal-related reports
- All Software Report:– It consists of software-related reports
- Turnover:– it provides Turnover w.r.t. GSTR 3B, GSTR 1, Books & Portal
- HSN:– It provides HSN details entered in GSTR-1, GSTR 9, Saved in Software & saved at Portal at the time of GST Registration
- Period:-it consists of Months/Quarter which are to be selected by the User
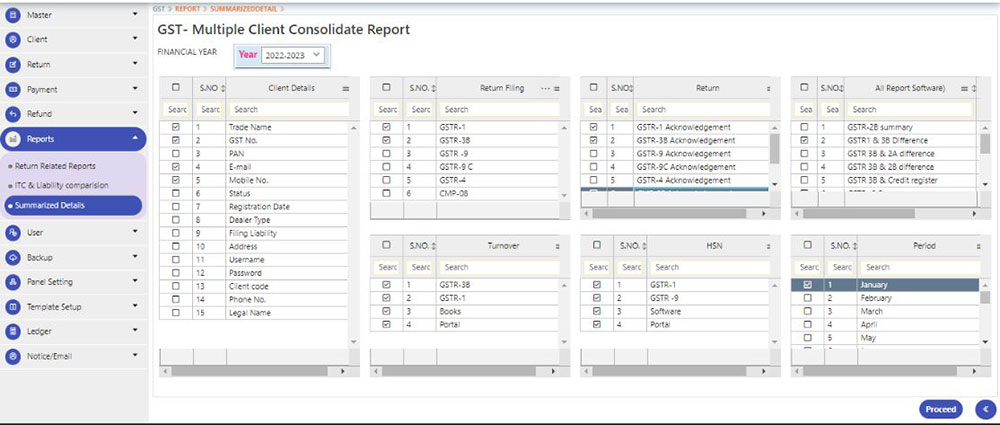
Note: After selecting the respective field User Needs to click on the Proceed button
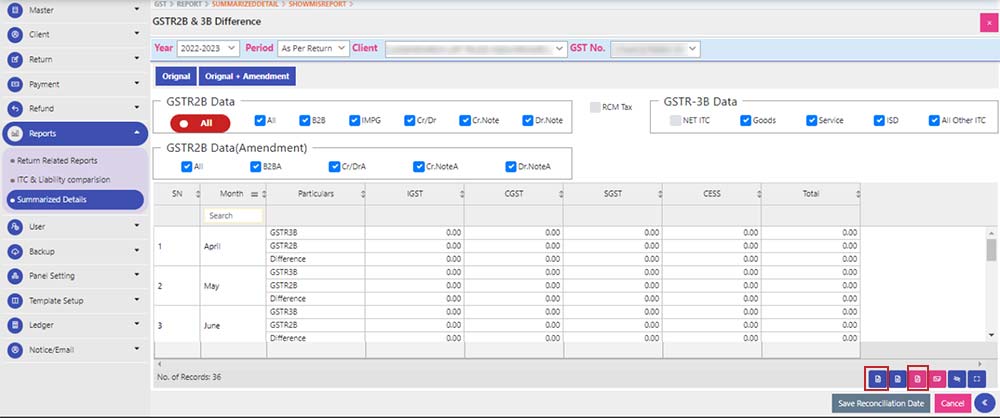
Step 2: After clicking on the Proceed button, It will show the main Dashboard which shows the respective field which is selected by the User
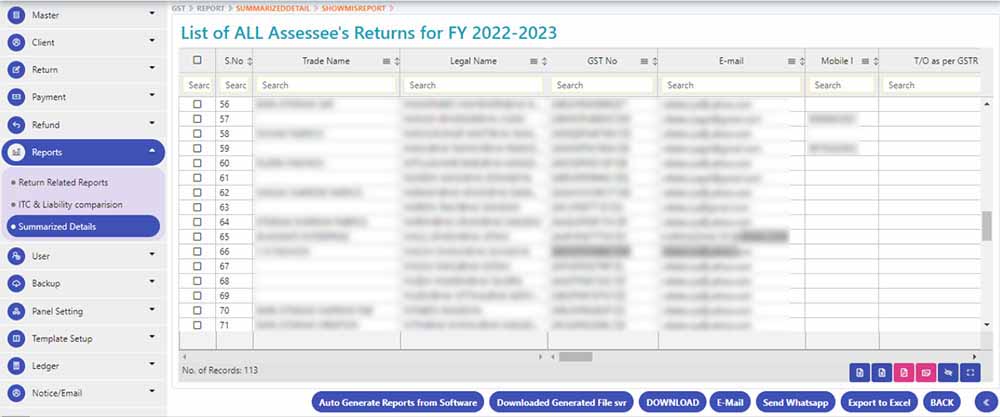
Step 3: If the User Has selected Single month, then every detail is visible on the Grid as shown in the below picture

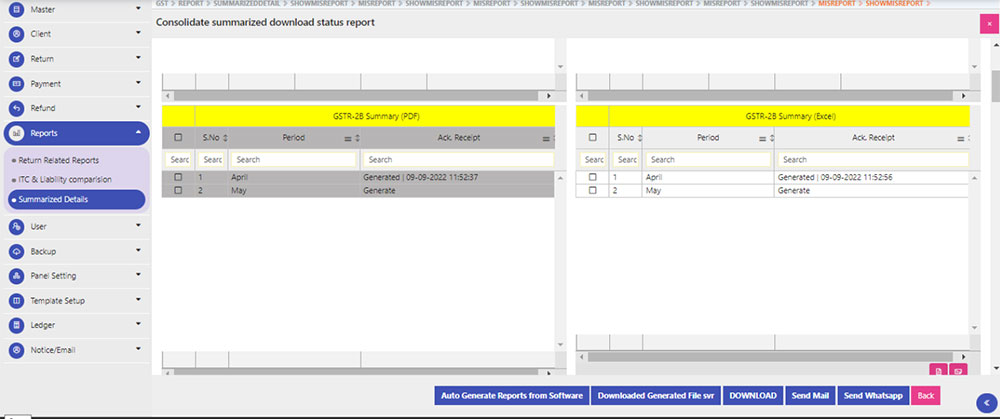
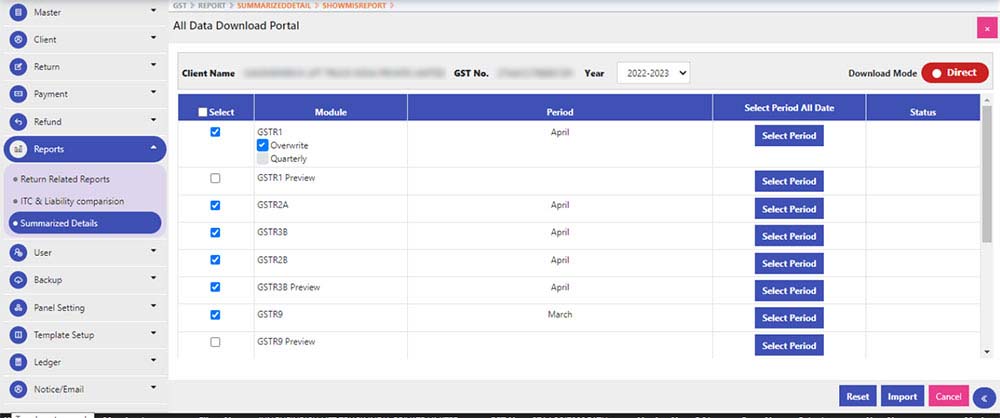
Step 4: If the User has selected Multiple months, Then Filed /Pending & … will be shown by clicking on … it will open the new window where all period data is available with their respective selection
After clicking on … following window is opened where all period data is available with their respective selection

Step 5: You can directly send mail/WhatsApp by selecting the required files as shown in the above image
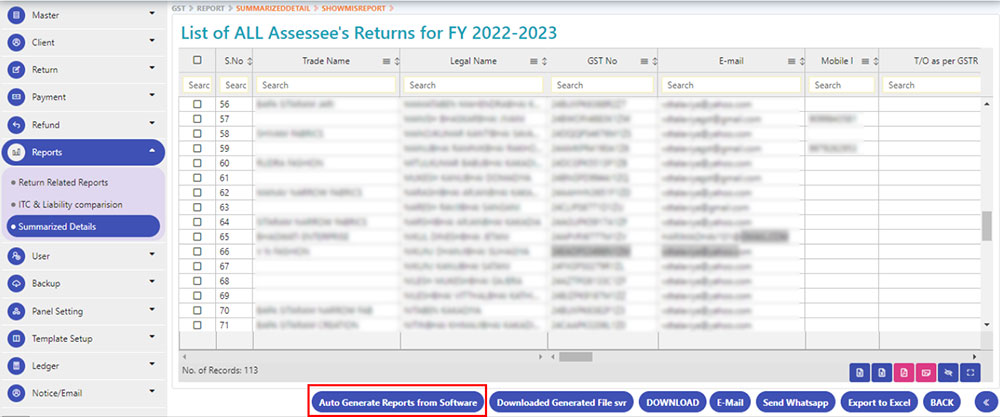
Step 6: At the bottom, There are the Auto-Generated Reports from Software button which generates software-related reports at the time of click
Step 7: You need to click on the Circled button to generate a PDF/Excel file
Step 8: The download button is used to get Portal-related reports
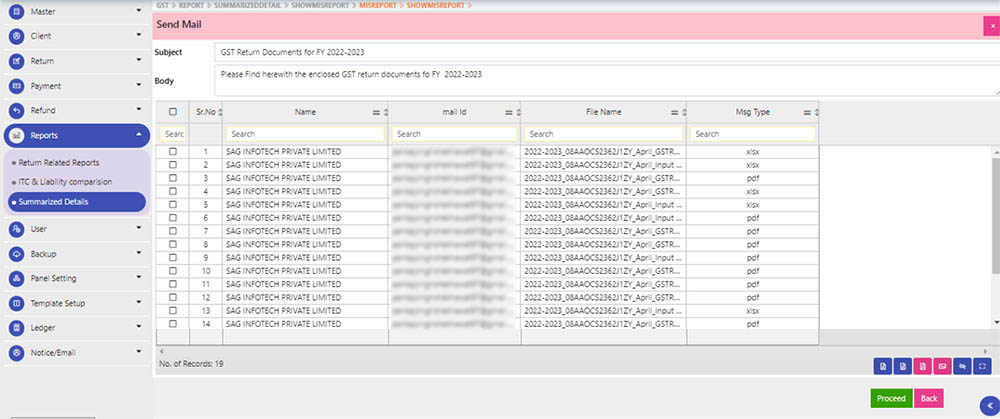
Step 9: The E-Mail button is used to send selected files through mail
After selecting the required files, the following window is opened which shows the Client Name, Mail ID, File name & File type before sending the same to Multiple Clients
Step10: If there is a Single client to whom mail is sent then there is an option to add more e-mail addresses as shown in the following image
Step 11: After that click on Proceed button
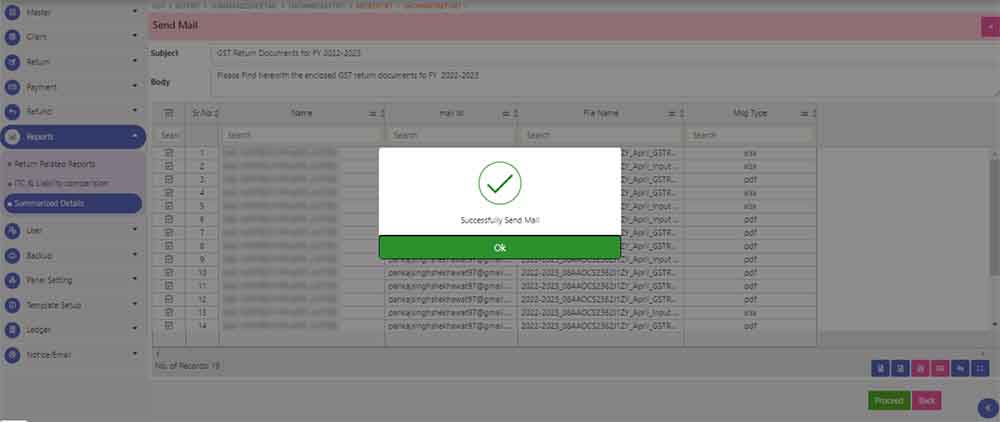
Step 12: Then Successfully mail sent message is displayed as shown in the above image
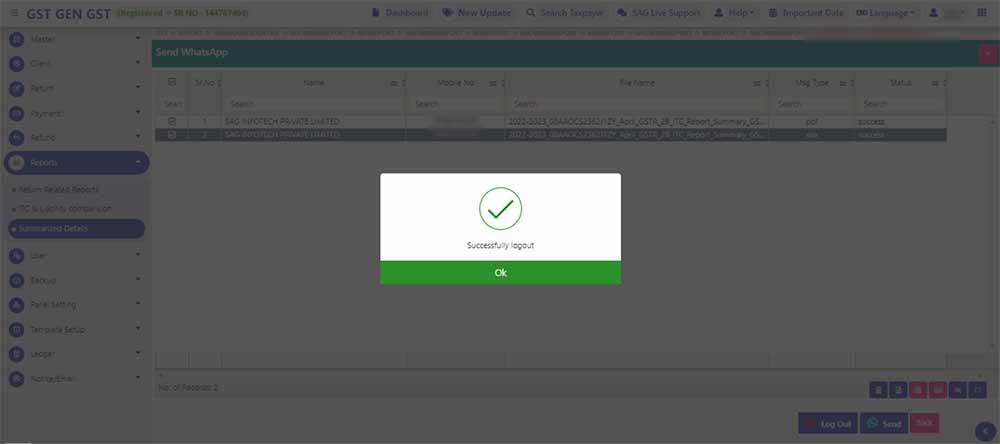
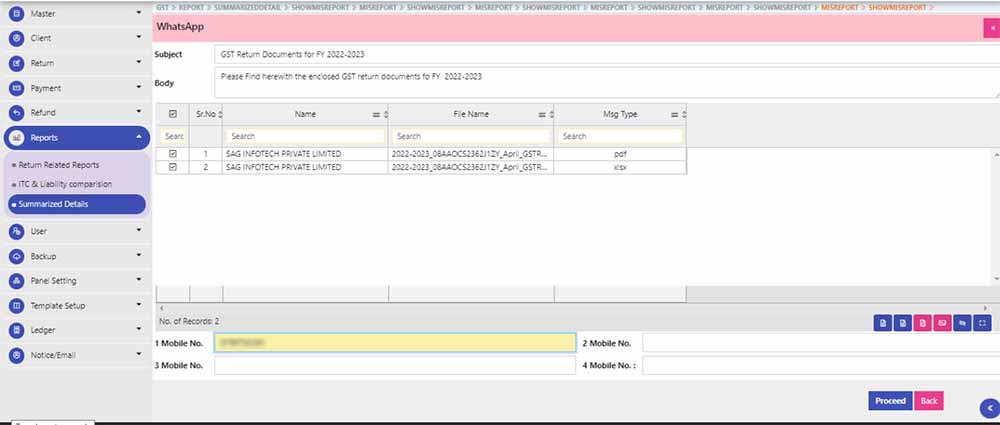
Send WhatsApp button is used to send selected files through WhatsApp
After selecting the required files, the following window is opened which shows No. of client Client Names with their respective mobile no. before sending the same to Multiple Clients
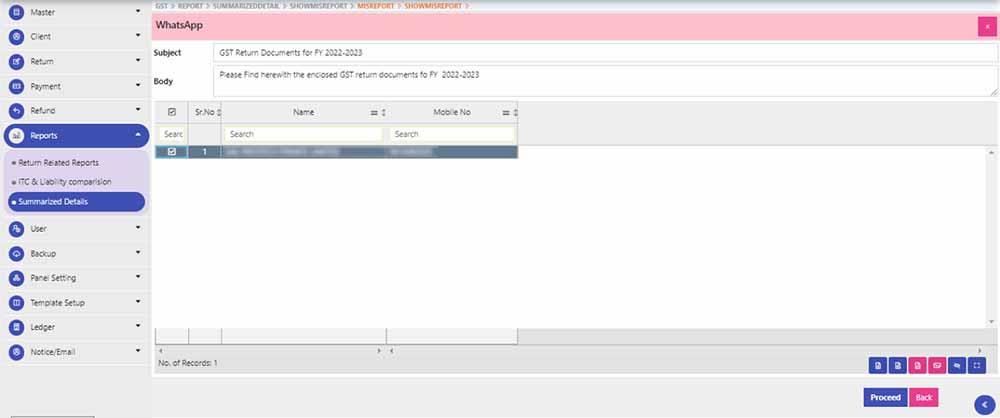
Step 13: If there is a Single client to whom mail is sent then there is an option to add more mobile no. as shown in the following image
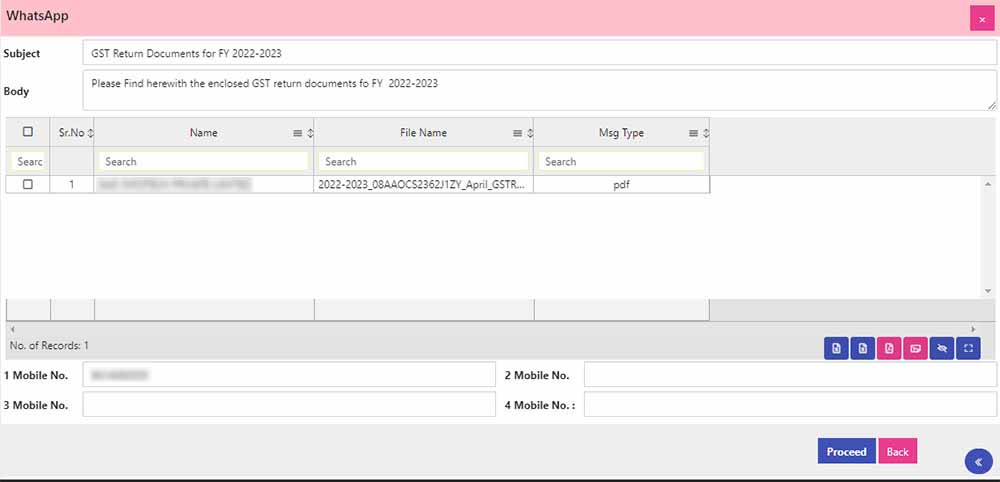
Step 14: After that click on Proceed button

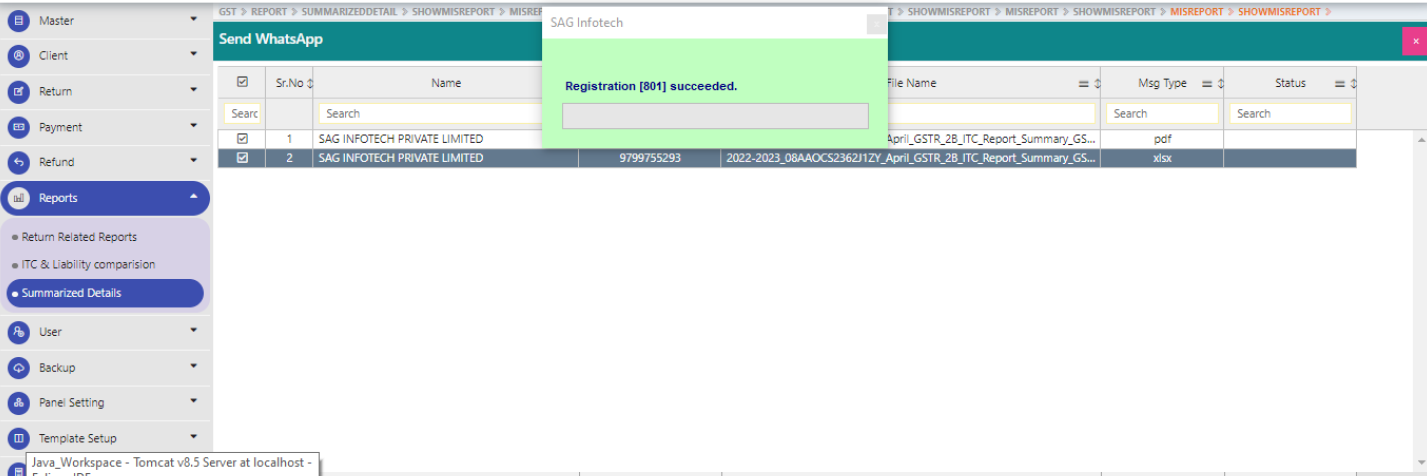
Step 14: A new window is opened which shows the Client Name, Mobile No., File name, File type & status before sending the same to the Client as shown in the above image
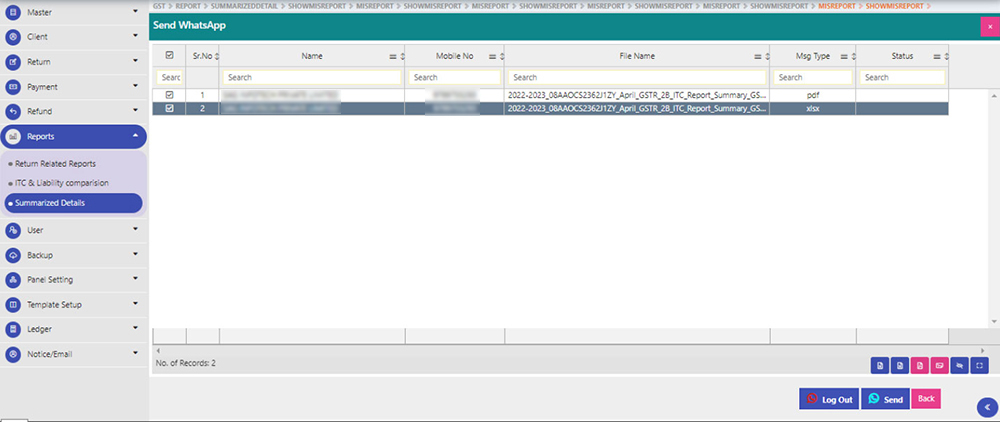
Step 15: After that click on the Send button
Step 16: After the processing page, the QR Code page is open for Scan as shown in the following Image
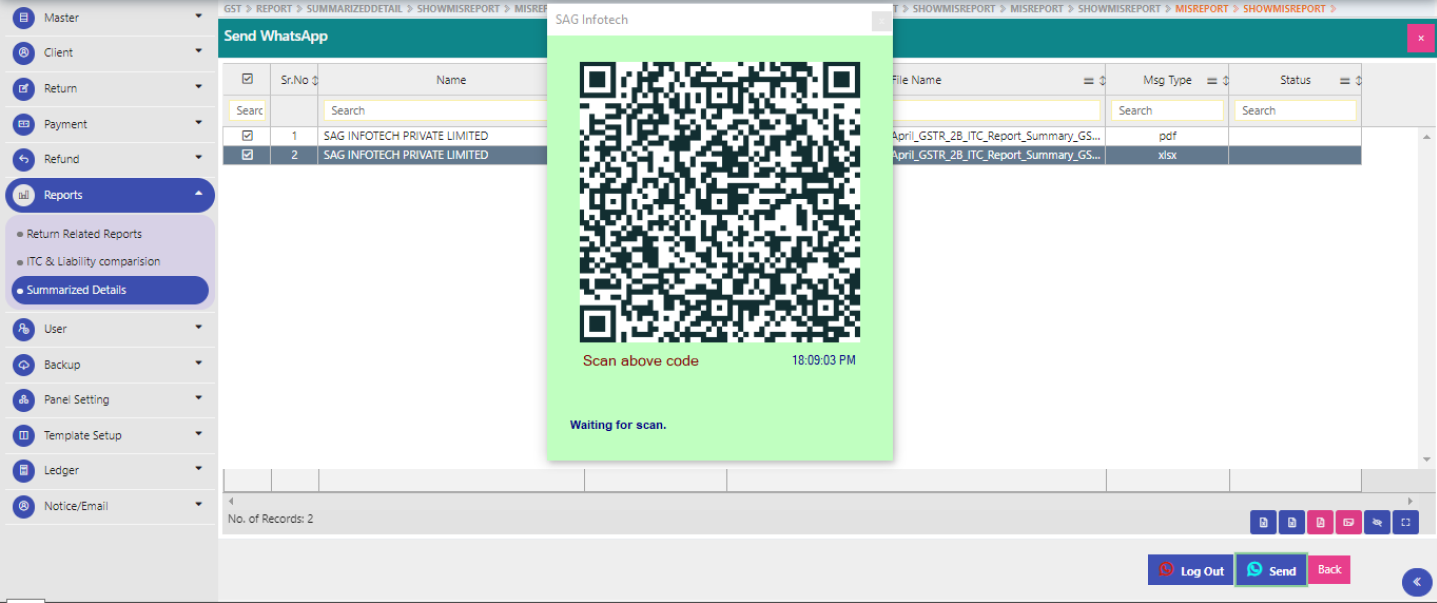
Step 17: After scanning the QR code message will be sent to the Required client with a success message
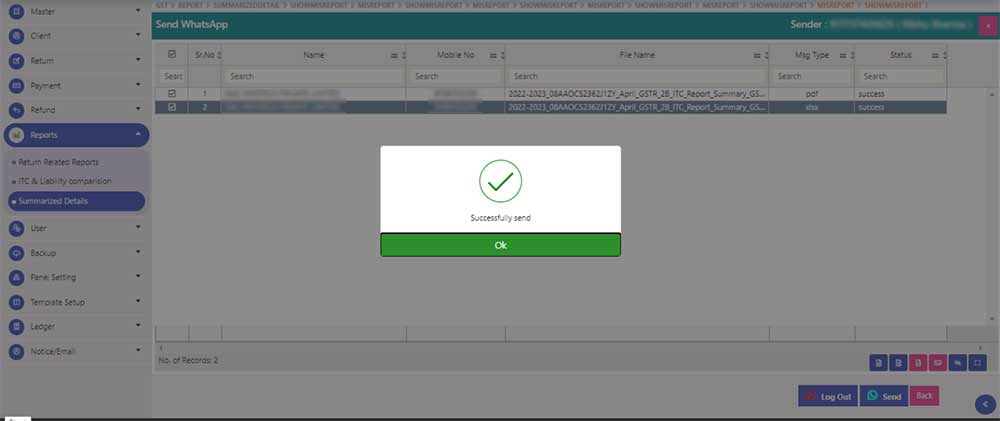
Step 18: After sending the message on WhatsApp User can LOGOUT from the screen by clicking on the Logout Button
After LOGOUT following successfully logout message is displayed as shown in the above image