Gen Complaw with XBRL software is coded by SAG Infotech for professionals (Company Secretary & Chartered Accountants) who want to do e-filing MCA e-forms such as AOC-4, MGT-7, ADT-1, DIR3-KYC & Web, CHG-1 & 4, DPT-4, LLP-3 & 11, etc. Also, this software can prepare balance sheets, profit and loss statements in XBRL format as per Accounting Standards and Indian Accounting Standards taxonomy.
Gen Complaw with XBRL software helps CS to do company law work smoothly. It can allow users to create financial data from the current and previous year databases in XBRL format. The Complaw software also provides a backup and restore facility on a real-time basis. Moreover, the software is a simple electronic format for business reporting that has changed the way of reporting. The software has achieved many satisfied clients across India.
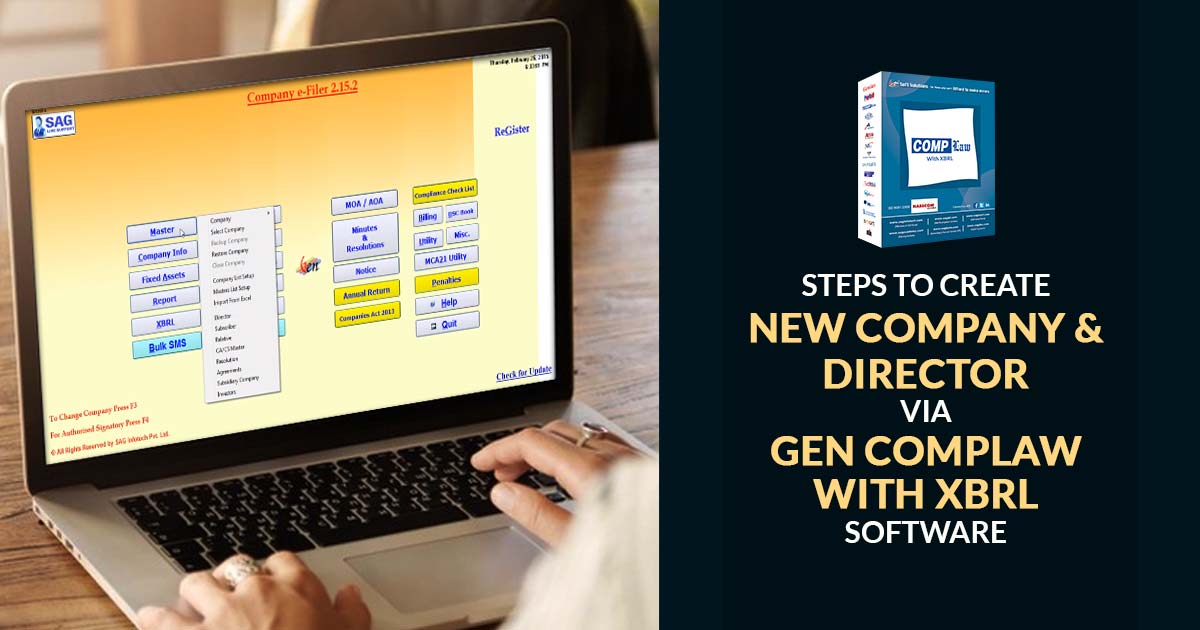
Here in this post, we have written a complete process of director and company creation via our Gen Complaw with XBRL software. Also, we have attached the original screenshot with a step-by-step guide for easy understanding.
Steps to Create a Company or Director Via a Gen Complaw with XBRL Software
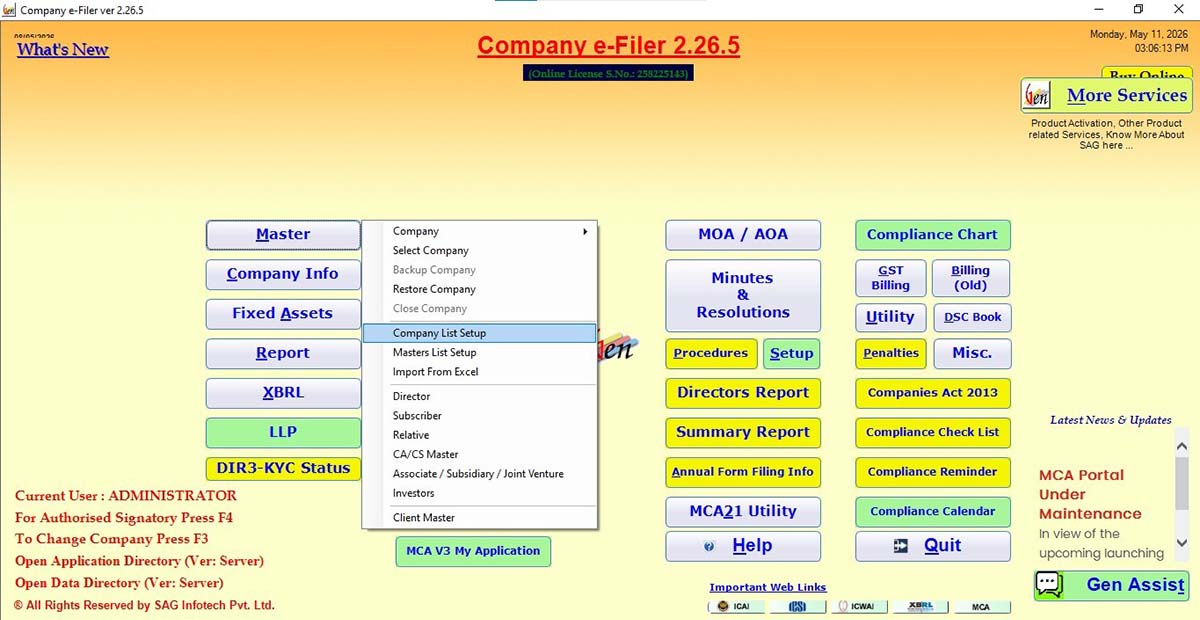
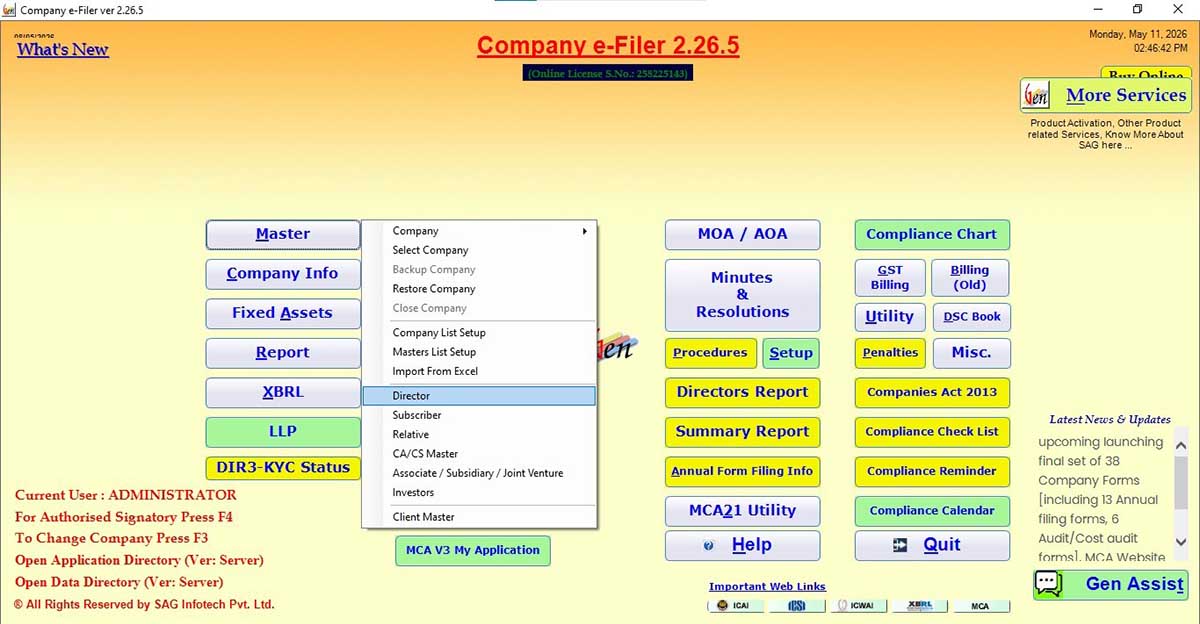
Step 1: After installation of the software, click the ‘master button’ from the dashboard. And move the cursor on the ‘company’.
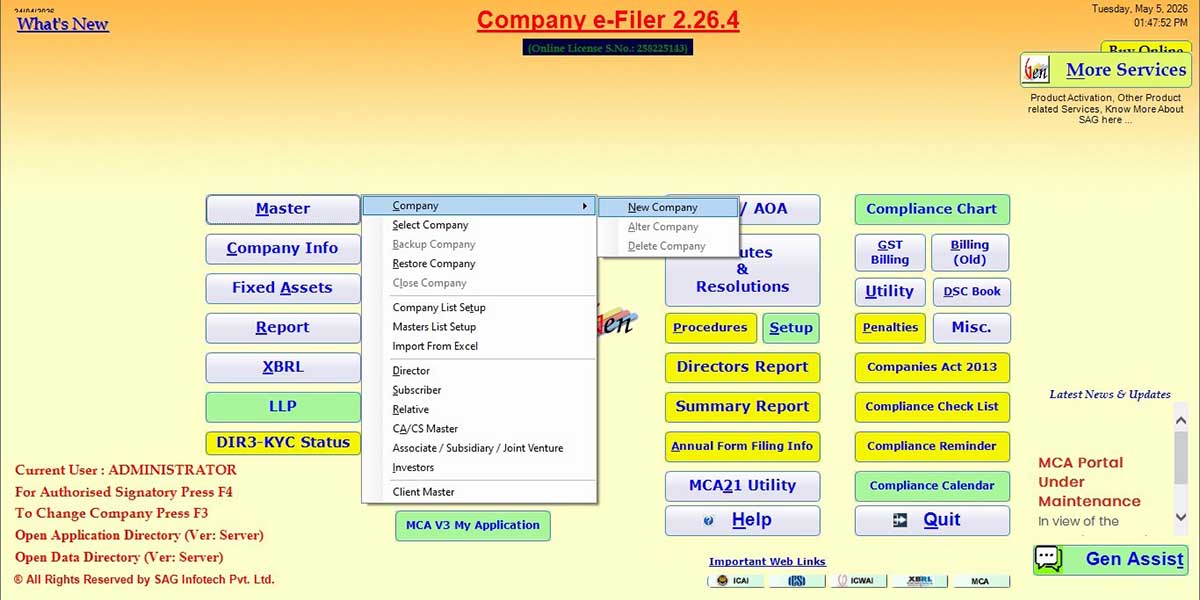
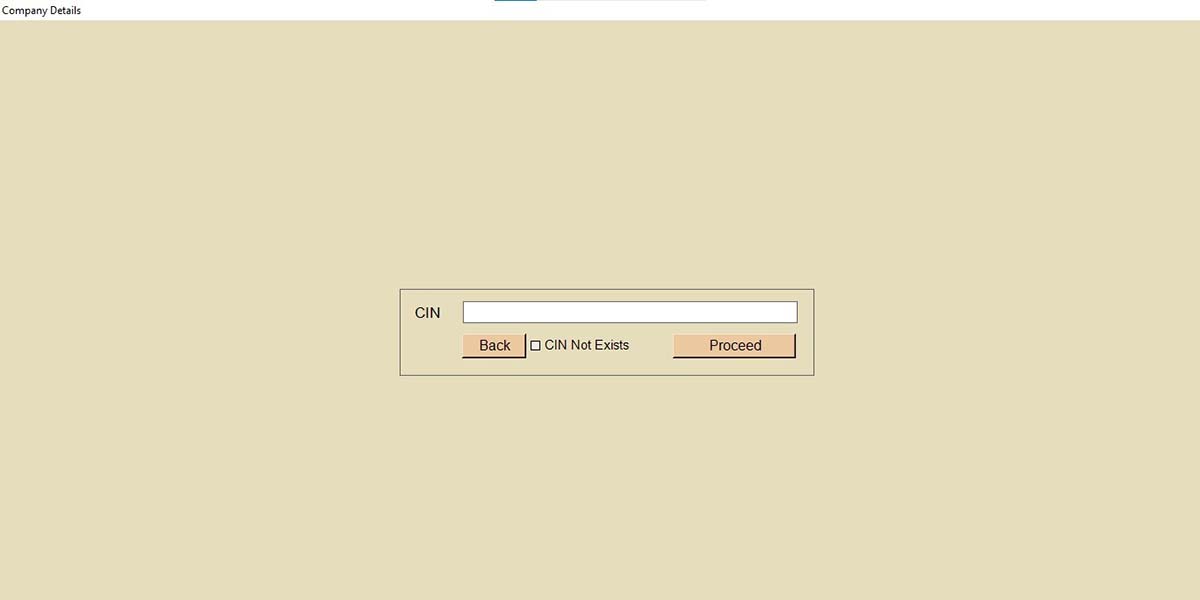
Step 2: Then move the cursor to a ‘new company’ to add. A window will pop up in which you have to enter the CIN and click on the proceed button. If CIN does not exist, then tick the option CIN does not exists and then click on proceed.
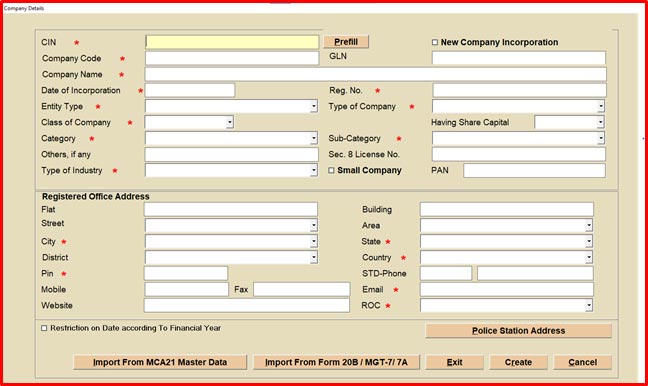
Step 3: If CIN already exists user click on proceed button and enter CIN & the reafter select user ID & password for auto filing of data from MCA and also After successful authentication details such as company code/details, entity type, industry type, mobile number, company PAN, latitude, longitude, & other details will be fetch automatically from MCA master data or user may import form 20B MGT-7/MGT-7A. Now, the user clicks on the Create button to create the company profile. If the CIN does not exist, all company details need to be filled manually for the creation of the company.
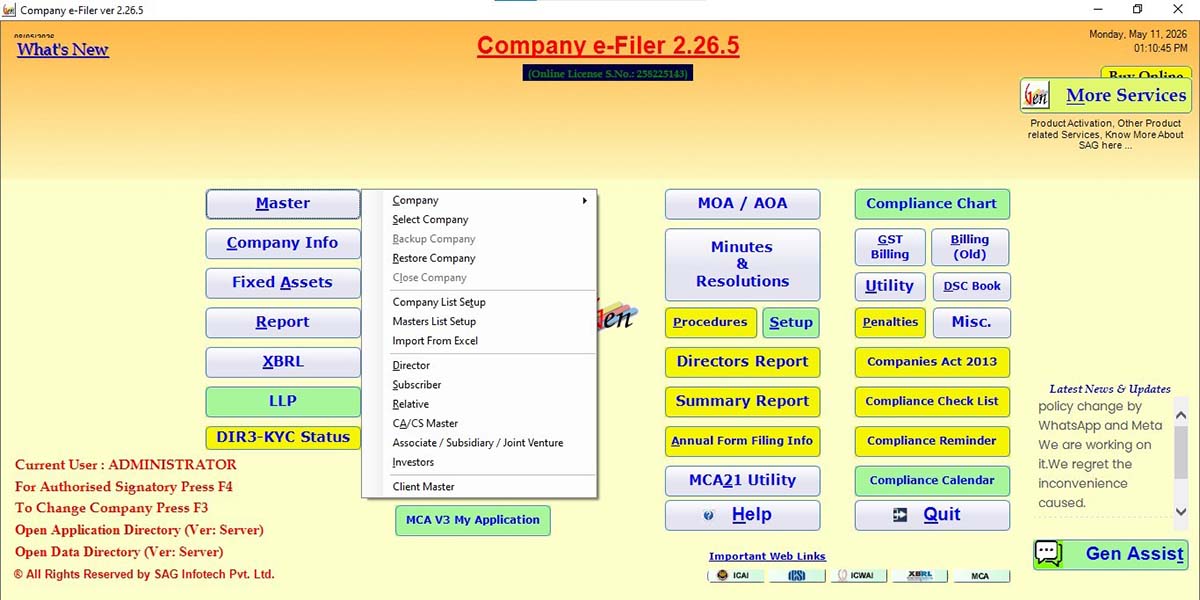
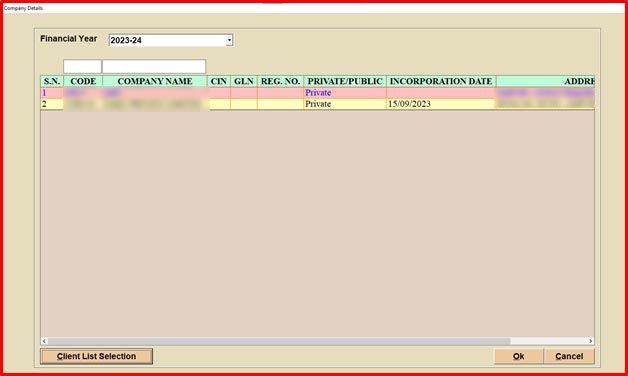
Step 4: Now move the cursor to ‘select a company’ under the master tab.
Step 5: After selecting the company, the client can select the company with FY and also change and remove the password setting for the selected company.
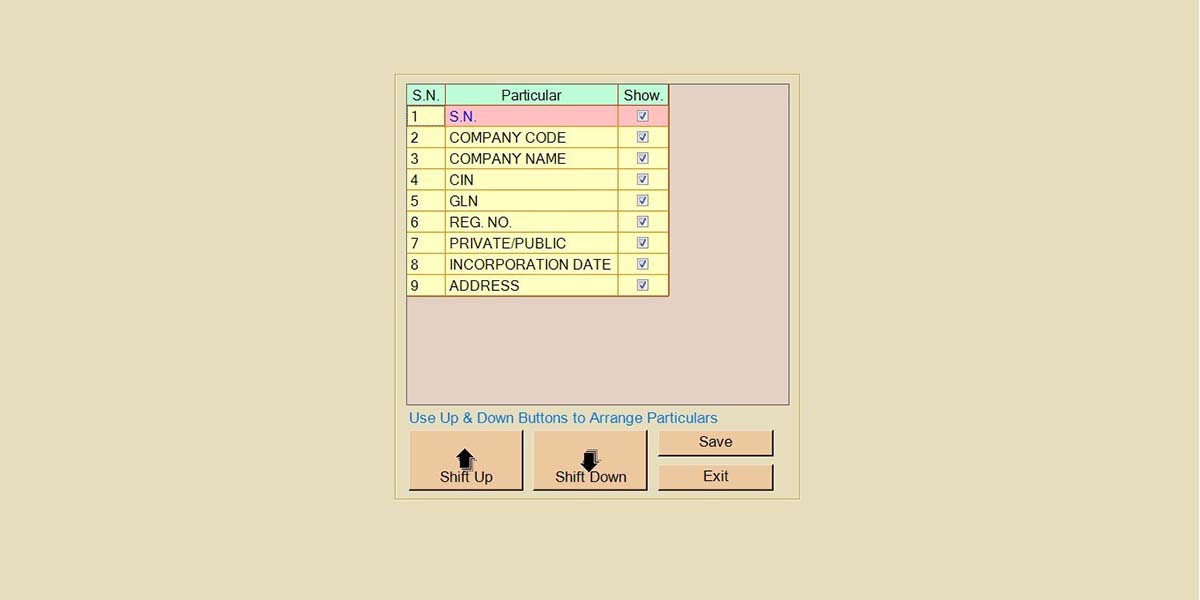
Step 6: Now move the cursor to the ‘company list setup’.
Step 7: In this step, the client can check the particular which they want to show.
How to Create a Director?
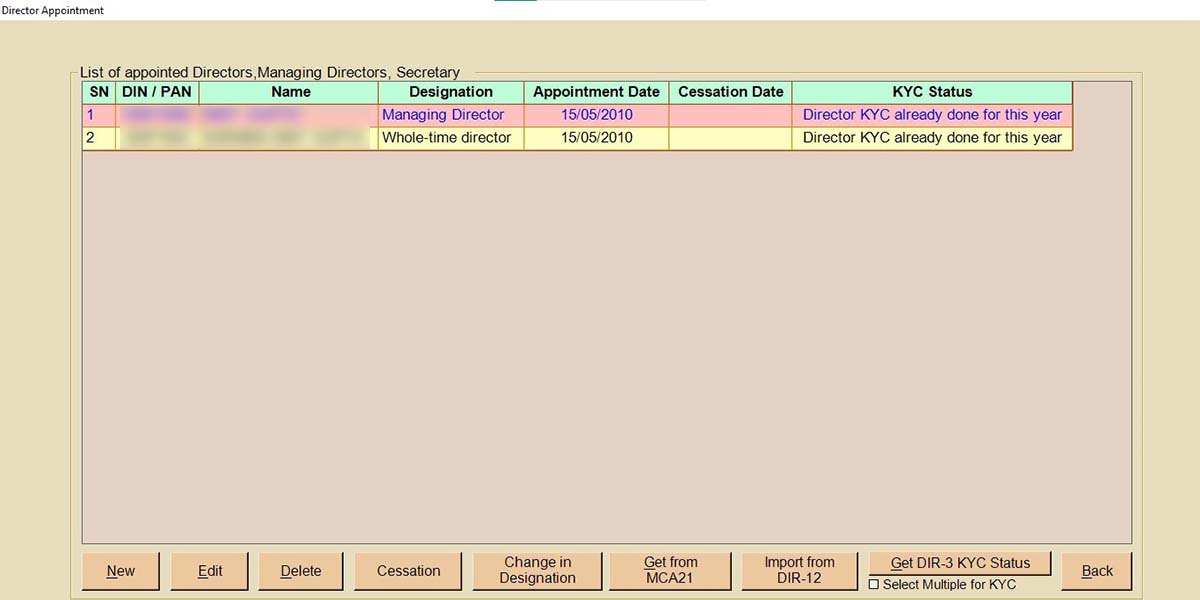
Step 1: As per the latest software update, upon successful creation of the company, the director’s details are now imported automatically without any manual entry, and after that, the user moves the cursor to company info & selects director appointment, where all the imported director details will be displayed.
Step 2: Move the cursor to ‘create a director’ under the master tab.
Step 3: After selecting the director option, the user can also add data manually from here by clicking on “New”, entering the DIN number, then clicking on prefill and adding other details such as name, occupation, PAN, etc. Also, the client can import the details from the LLP partner.