GSTR 2A is an auto-populated form generated through the return filing of the seller’s GSTR 1. The form is for reconciliation purposes and is used for matching the tax details by the department.
The GST portal automatically generates GSTR 2A for each business based on purchase-related tax data. The information from the seller’s GSTR-1 is captured in GSTR-2A. The GSTR-2A captures the information from the seller’s GSTR-1 that describes the goods and/or services that were purchased during a given month. GSTR-2A contains details on input tax credits for GST-registered buyers when filing GSTR-3B and GSTR-9. The standard version of GSTR-2A, GSTR-2B, must be used to prepare GSTR-3B since August 2020.
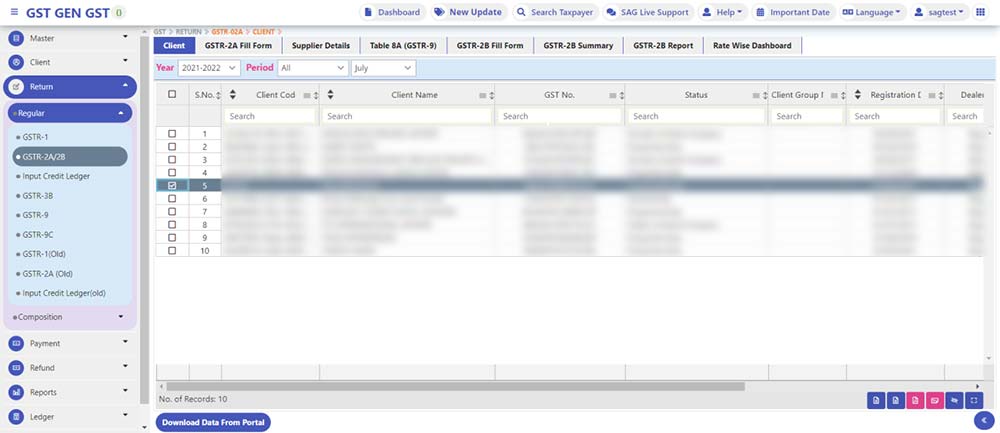
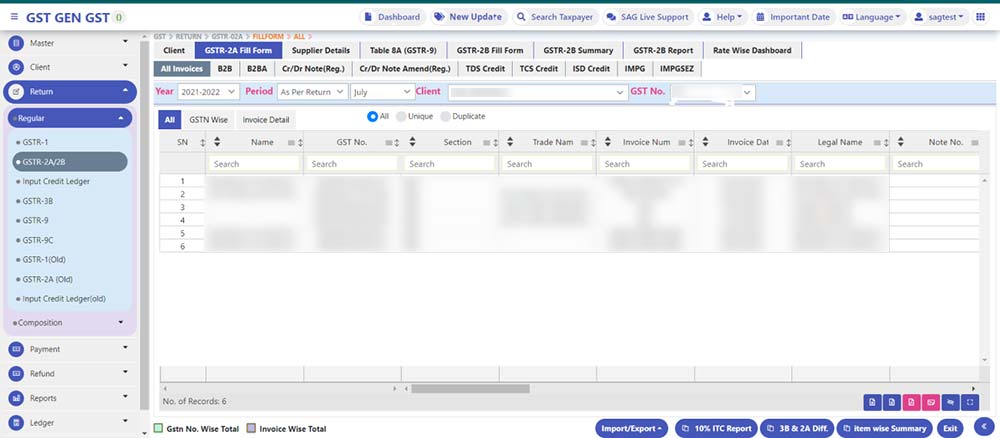
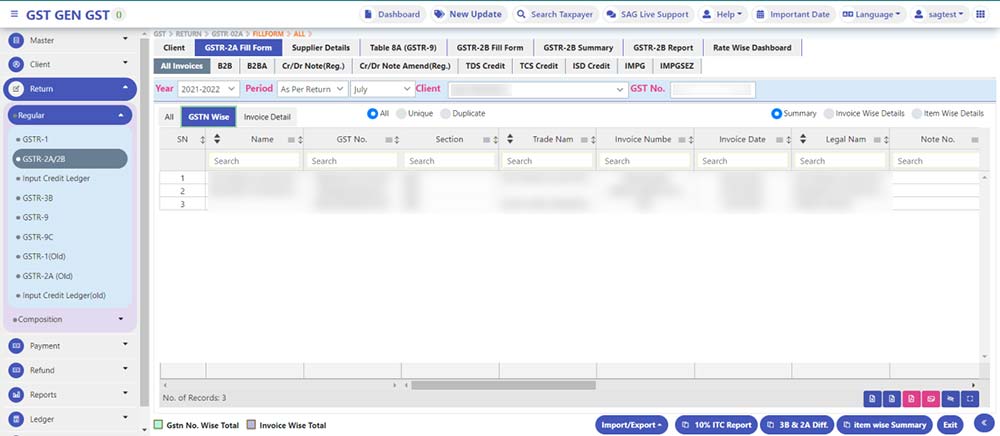
SAG Infotech brings you the complete details of the GSTR 2A form and its filing procedure through the Gen GST return filing software. The software has multiple features option to view GSTR-2A as per return, as per period i.e. monthly and Quarterly etc. and supplier GSTN wise with their excel export.
The following returns from the sellers/counterparties will auto-populate GSTR 2A:
| Return Forms | Return Filed by |
|---|---|
| GSTR 1 Form | Regular GST Registered Seller |
| GSTR-5 Form | Non-residents |
| GSTR 6 Form | Input Service Distributors |
| GSTR 7 Form | Person Liable to Deduct (TDS) |
| GSTR 8 Form | e-Commerce Operators (TCS) |
Steps to Auto-Generate GSTR-2A Via Gen GST Software
Step 1: Form GSTR-2A will be generated in the below scenarios:
- When the supplier uploads the B2B transaction details in Form GSTR-1 and 5
- ISD details will be auto-populated on submission of Form GSTR-6 by the counterparty
- TDS & TCS details will be auto-populated on the filing of Form GSTR-7 and 8 respectively by the counter-party.
Step 2: Form GSTR-2A is a Read-only view form and you cannot take any action in Form GSTR-2A.
Step 3: Form GSTR-2A will be generated in the following manner:
- After filing/submission of Form GSTR-1 by suppliers or when the counter-party adds Invoices / Credit notes / Debit Notes etc. or makes Amendments in Form GSTR-1/5.
- Form GSTR-6 is submitted for distribution of credit in the form of an ISD credit invoice or ISD credit notes.
- Form GSTR-7/8 was filed by the counterparty for TDS & TCS credit respectively.
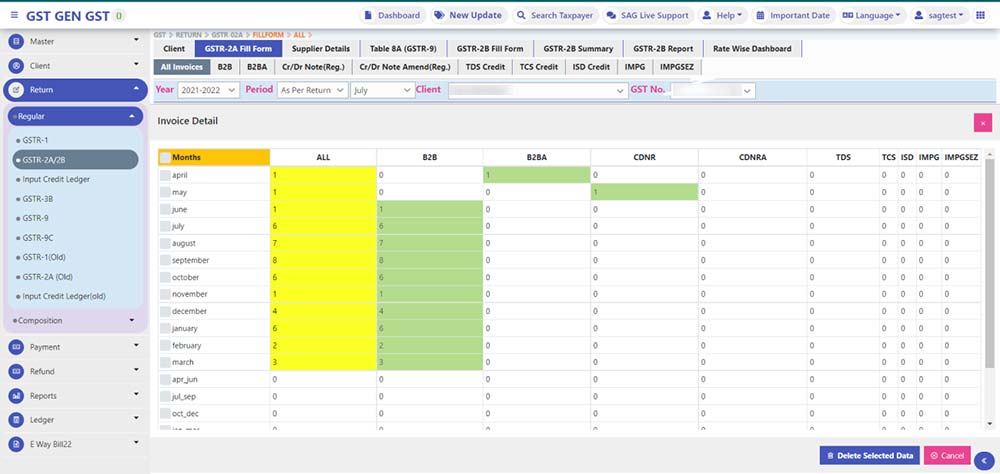
Client
All Invoice
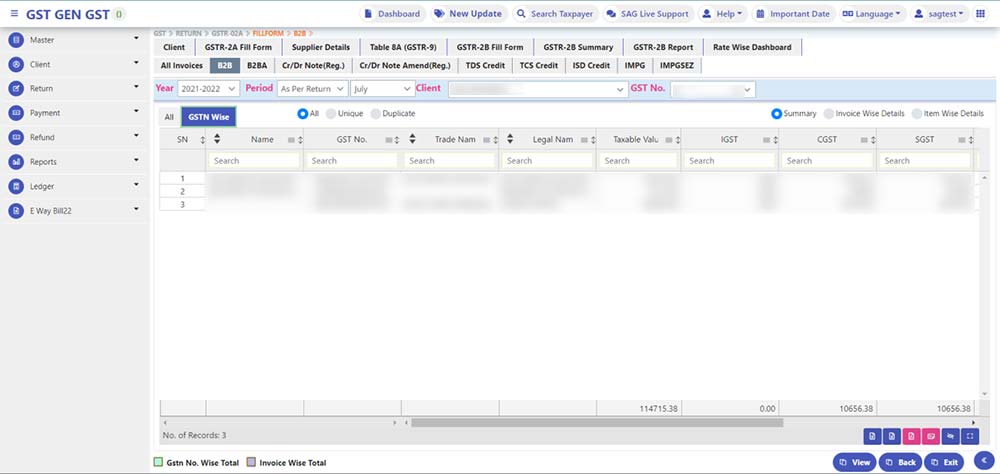
GSTN Wise
Invoice Details
B2B
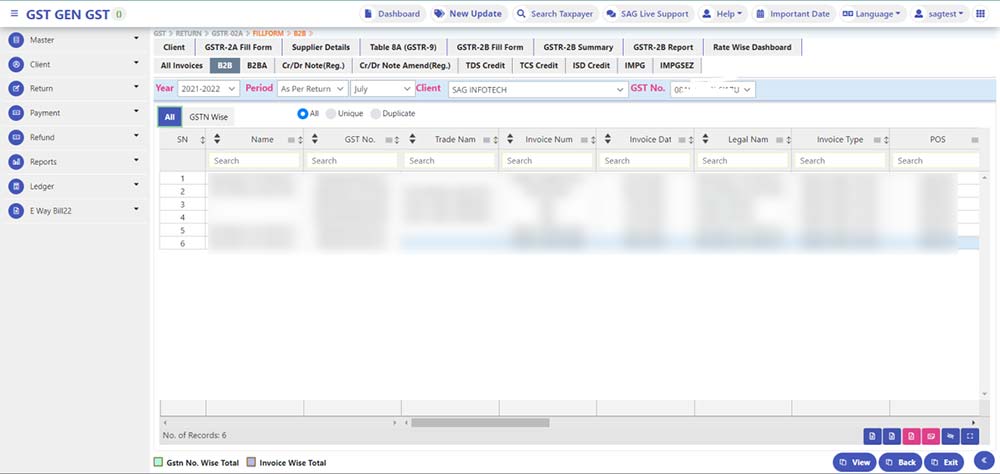
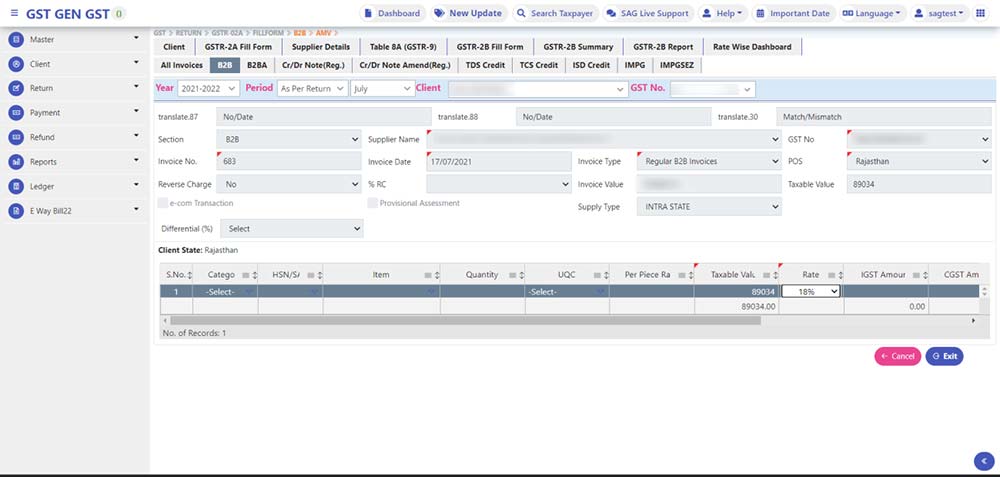
Step 4: Select the B2B option from the main tab then select ADD option from the bottom the page will appear as shown in the above figure.
- Section: This option shows all the sections of the main tab in GSTR-1. By default, it shows B2B when we select the B2B tab. You can select any option provided in the section which will directly take you to the selected section.
- Invoice No: It is invoice no. which is issued at the time of supply of goods/services.
- Reverse Charge: Reverse charge means when the recipient of goods is required to pay the tax on the goods/services instead of supplier of goods/services it is known as a reverse charge. Select yes or no from the section whichever is applicable.
- Differential (%): It provides a differential rate as given in GSTR PORTAL.
- Receiver Name: You can select the receiver from the list available if any by clicking on the box. You can add receiver details by selecting the (+) sign shown in the right corner of the box. By selecting the above option page will appear which give you two option IMPORT/NEW select the relevant option and provide the details.
- Invoice Date: It is the date on which the invoice is issued.
- % RC: It is that portion of the total invoice amount on which a Reverse charge is applicable. It can be 50%, 60% or 100% as the case may be. Select the relevant rate as applicable.
- Invoice Type: This option shows you the type of invoice you want to create. i.e Regular B2B invoice, Deemed Exports, SEZ Exports with pay, SEZ Exports without pay select the relevant invoice type.
- Invoice Value: It shows the total value of the invoice including tax.
- GST No. : It displays the GST NO. of the receiver which will be auto-filed by selecting the receiver option you can fill it manually and also by clicking on the down arrow sign at the corner of the box.
- POS: It refers to the place of supply where the sale is made. Select the relevant place where the Sale was made by clicking the arrow at the corner of the box
- Add/Delete: You can add or delete multiple entries by selecting Add/Delete option.
- Taxable Value: It is the taxable value excluding tax which is to be entered.
- Rate: It provides the rates applicable as per GST. Select the relevant rate from the section.
- Single Mode: In single mode, only a single entry can be made.
- Save: After filing all the relevant data select the save option to save the entry.
Recommended: Free Download Gen GST Software for Unlimited Client E-filing with DSC/EVC
GSTR 2A Form Features Available on Gen GST Software
- View Client Details Month Wise
- Export/Import Data Through Various Methods
- Download Client Data As Per Time Period
- View Client Details Summary Invoice Wise/Item Wise





GSTR 2A SOFTWARE RELATED