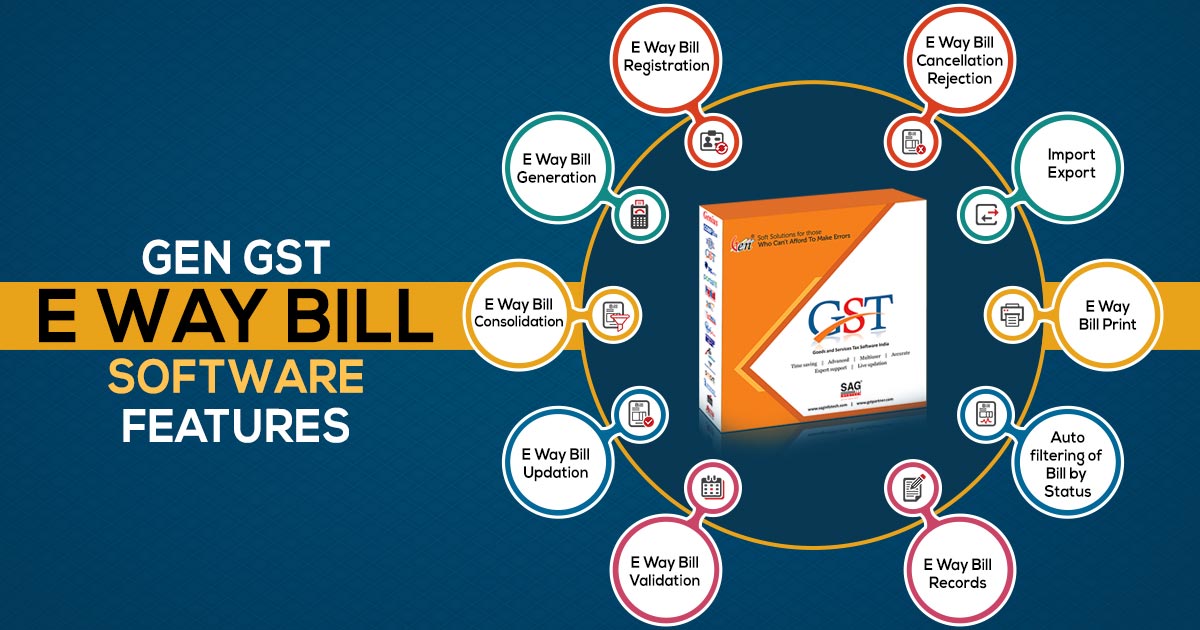
E-Way Bill is meant for an electronic medium of bill movement and is issued on the Common Portal of E-Way bill regarding goods. The goods costing over Rs.50,000 in a bill/single invoice/delivery challan and destined for transport in a vehicle are not liable to move without the generation of an E-Way bill by a registered taxpayer.
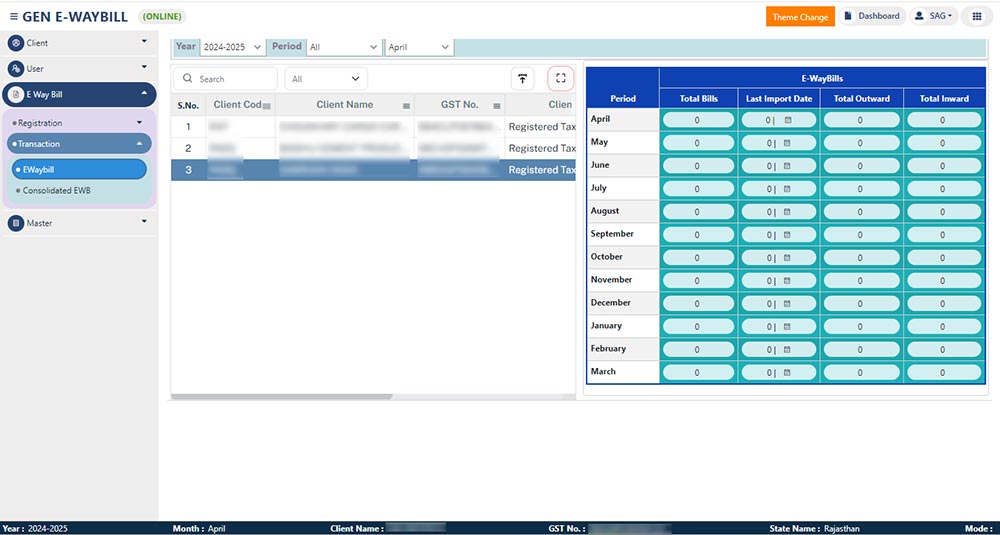
- In the Gen GST software page, the current homepage will display Summary of E Waybills which shows the details of Total bills, Last Import date, Total Outward & Total Inward.
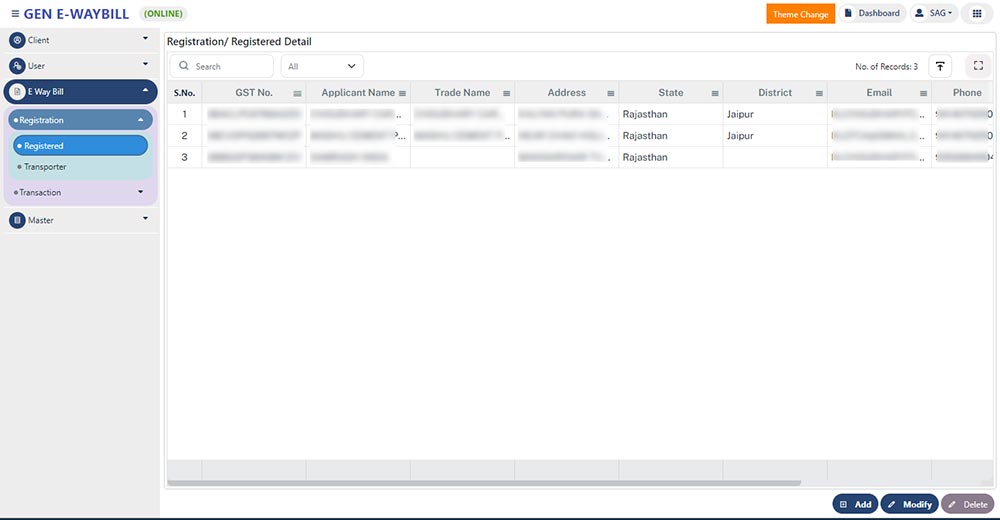
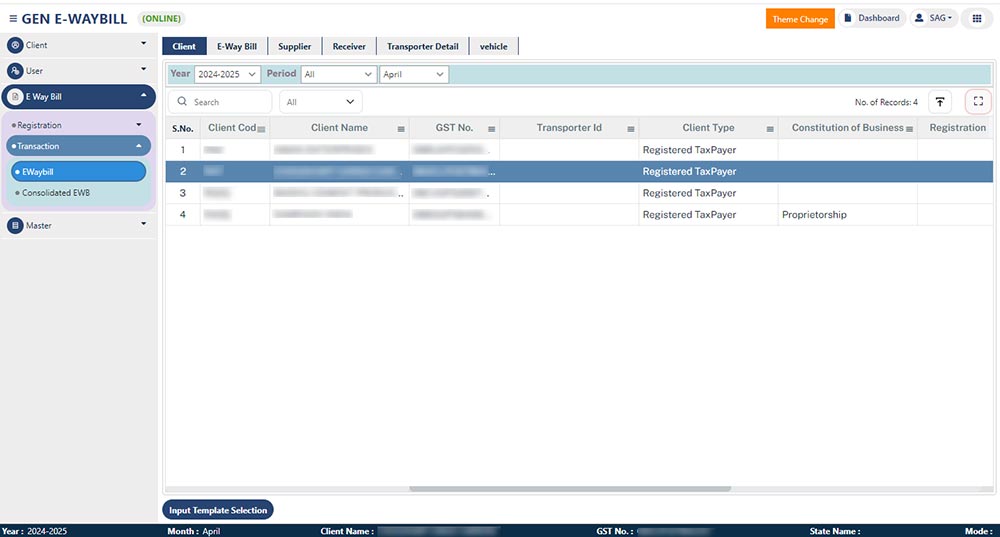
- After that, click on E-way bill Registration -> Registered, where it can show the list of E-waybill registered clients.
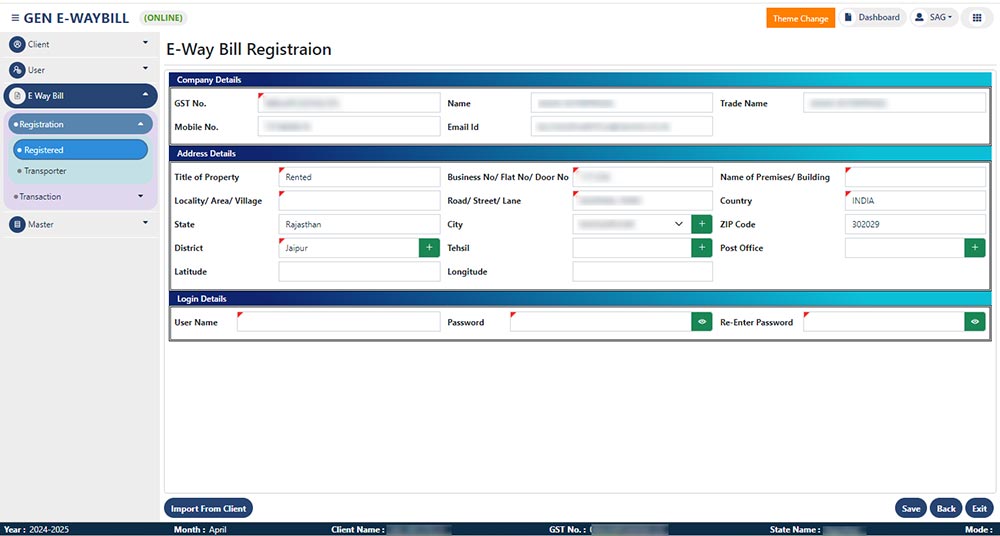
- To register a client in the E-way bill, kindly select the client first, then click on the OK Button

- After that, fill in the necessary details required for the e-waybill registration process. Then click on the save button.
- After that, the list of clients will be displayed after the registration process
- Users can Upload, Cancel bills, Extend Validity, Update Vehicle Bulk, Reject bill, Update transporter, E waybill Import, Update Multi-vehicle, Change to Multi-vehicle through the e-way bill button at the bottom

- To import data from the e-way bill Excel file, kindly use the button Import/Export as given above
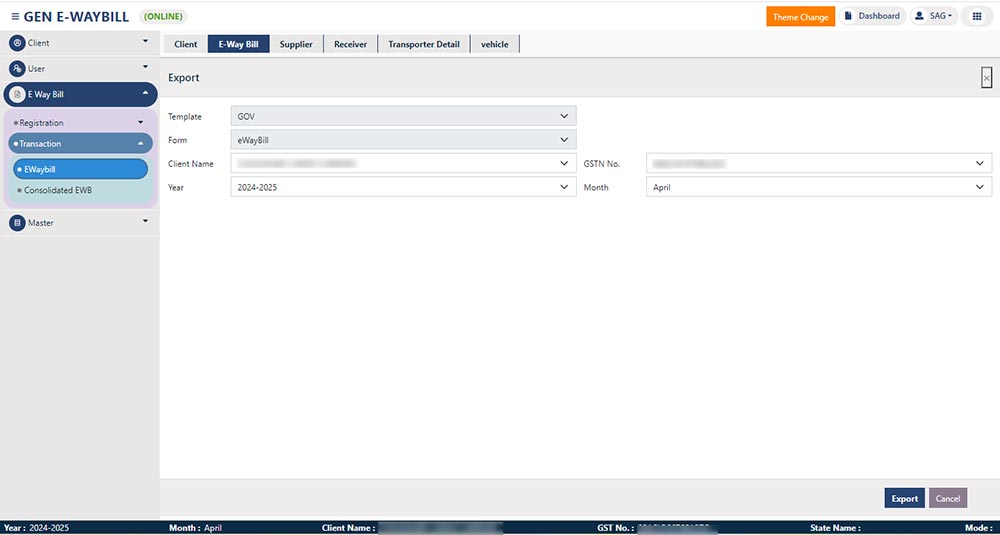
- To export data from software to an E-waybill Excel file, kindly use the Import/Export button as given above and then click on the export button at the bottom.
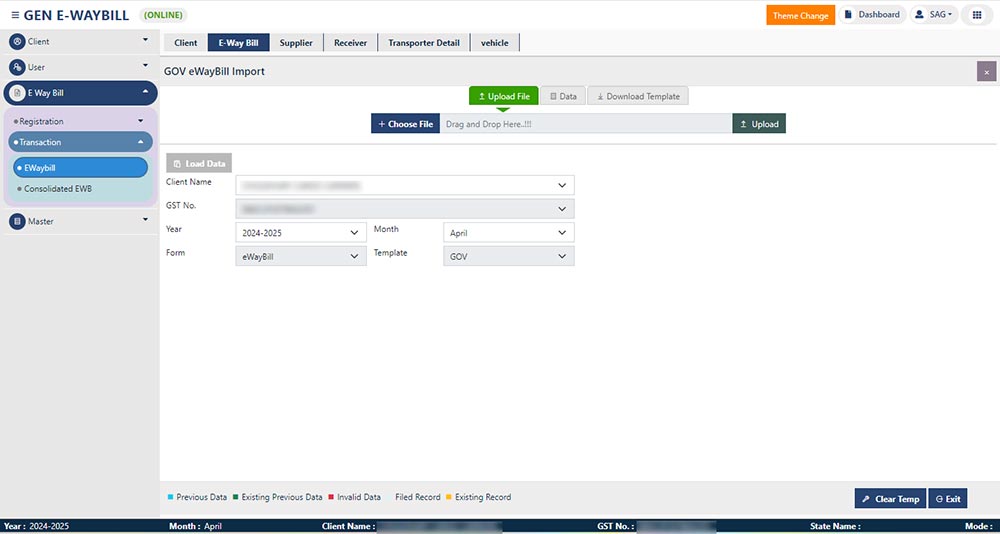
- To import e-way bill data from the portal, kindly click on the E-waybill import button given at the bottom

- After that kindly select the date range for E waybill data to be fetched from the portal, After that click on the ok button.

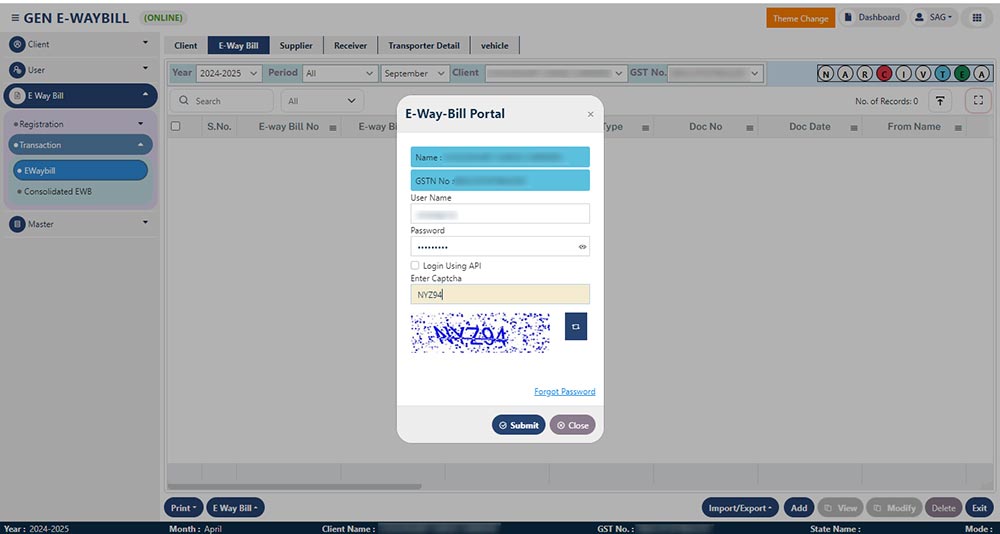
- Then enter the E-way bill login Initials and then enter the captcha
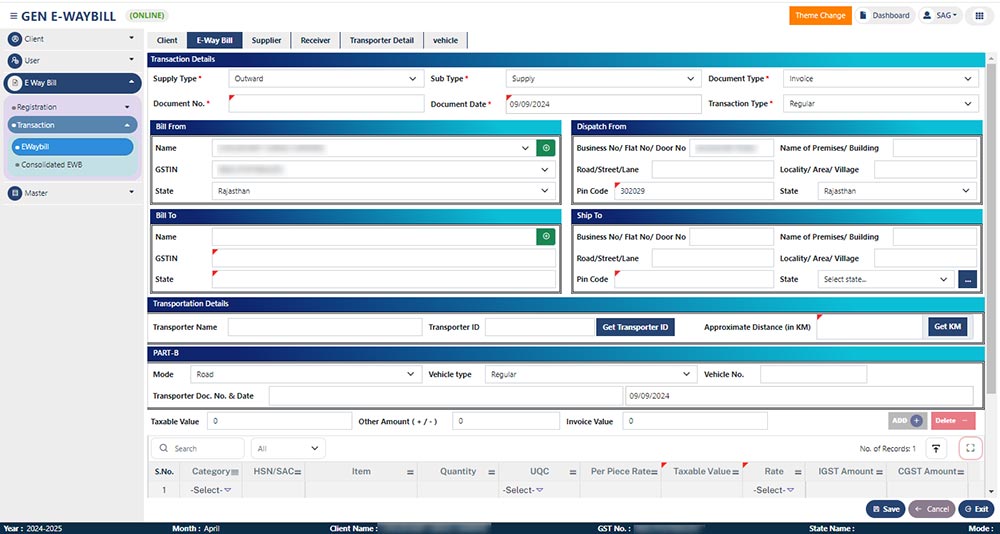
- To add a transaction manually, kindly go to E waybillàTransactionàE waybillàSelect clientà ewaybillà Add.
- After that, enter the required details for the creation of an e-way bill
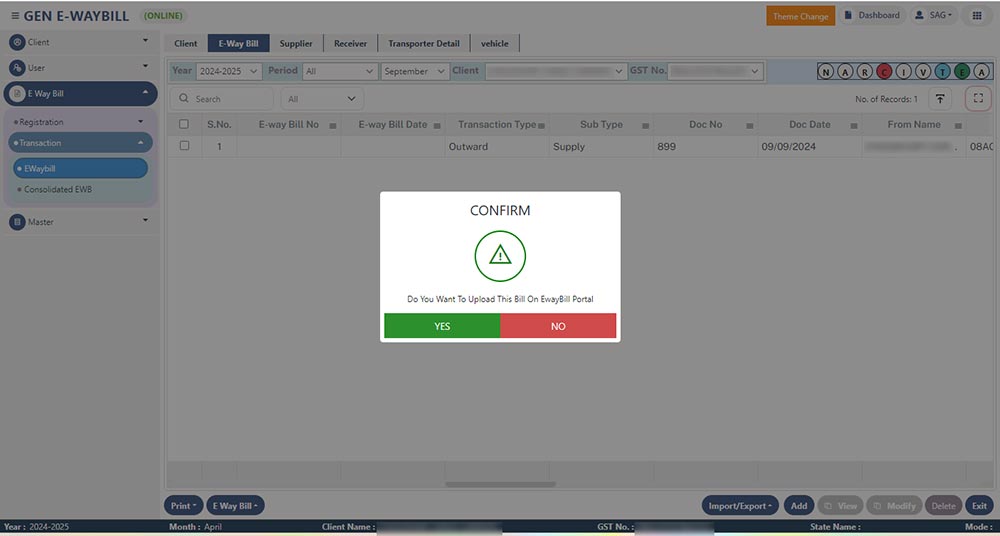
- After adding the e-way bill entry, it will populate the message “Do you want to upload E-waybill on Portal”.
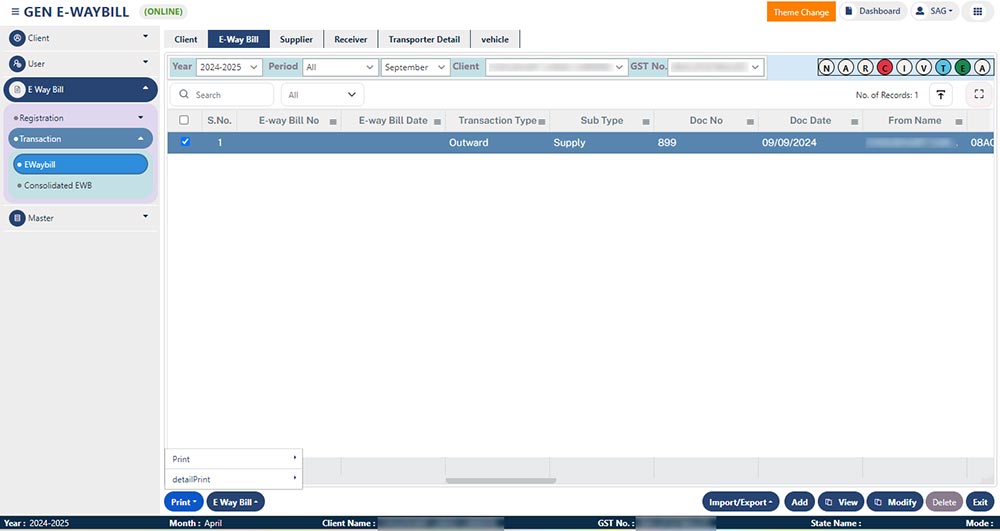
- After uploading the entry, the user can print the same from the print button given at the bottom.
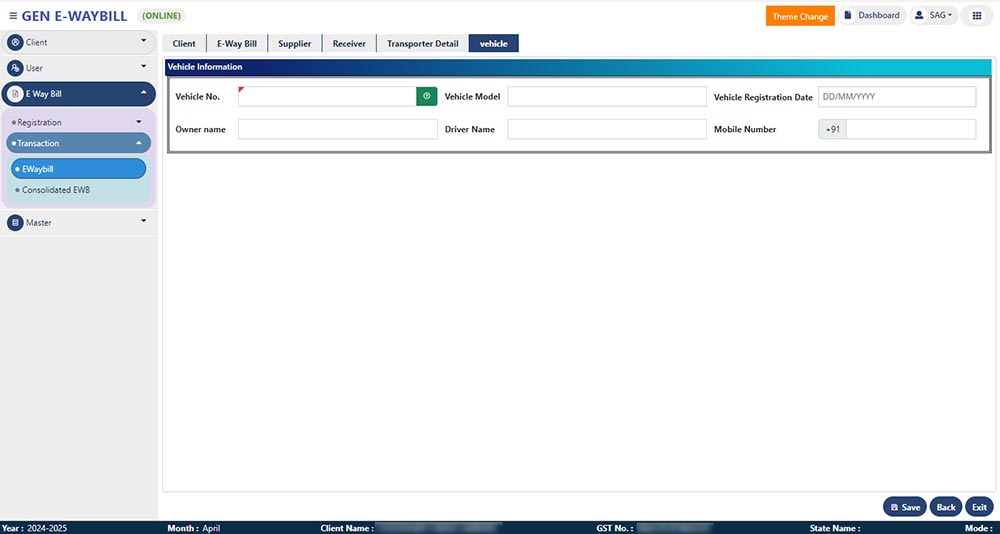
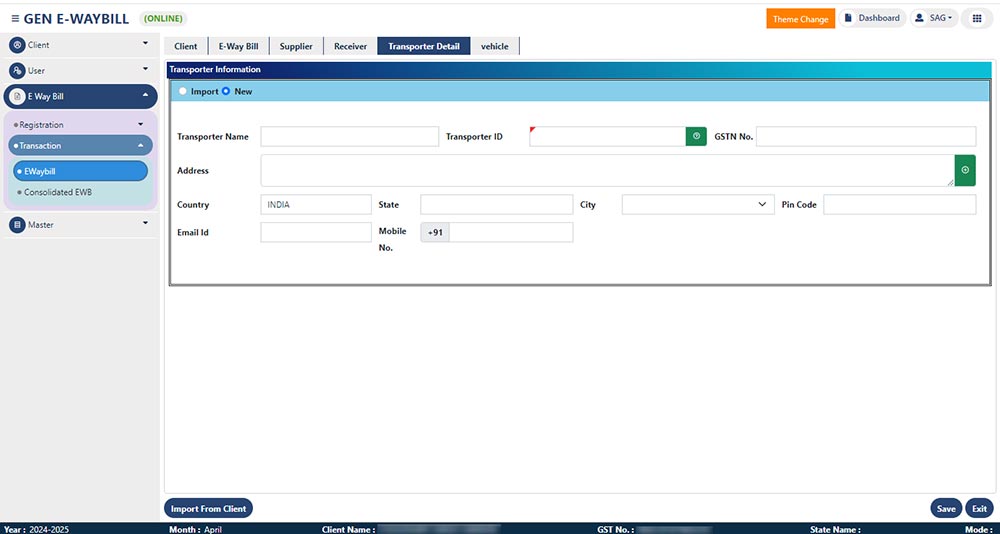
- The user can add transporter details by clicking on Transporter Details
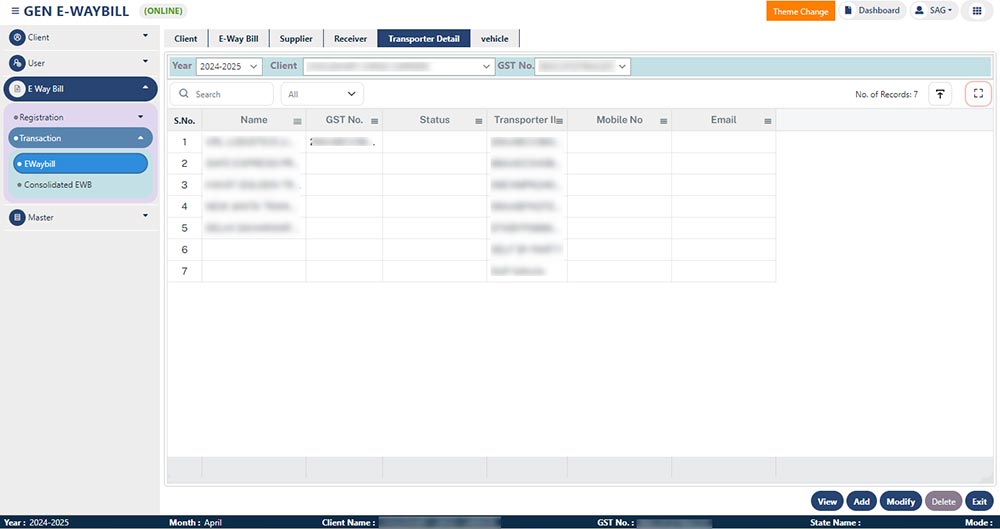
- Enter the required details in Transporter Information.
- User can also add Vehicle details by clicking on the Vehicle button and entering the required details