What is CHG-1 e-Form?
Any executed charge made by the company is obligated to be filed in e-form CHG-1. The charges can be incurred on distinct sorts of assets, which is located in India of overseas and may generate in favour of lenders such as financial institutions or banks. Form CHG-1 is a statutory form used by the companies to register the creation and modification of a charge on its assets with the registrar of the company (ROC).
Controlling Regulations for e-Form CHG 1
The e-form CHG 1 needs to be filed pursuant to Sections 77, 78, 79, and Section 384 of the Companies Act, 2013, and Rule 3(1) of the Companies Rules, 2014.
MCA Companies Act of Section 77
Section 77 of the Companies Act states that every company that makes a charge on its property or assets or any of its operations must register the details of the charge in a certain manner. These charges must be notified to the registrar within 30 days of their occurrence.
Read Also: Quick Guide to File an ADT-1 Form Via Gen Complaw Software
CHG-1 e-Form Filing Due Date
- Post to 30 days from the generation date of the charges the company or the charge holder could furnish the form CHG 1.
- When the form CHG 1 gets furnished via the charge holder above 30 and within 300 days from the date of charge creation, or late revision would need to get filled in the Form CHG-8 post to furnishing the same e-form and the same form would be processed via ROC office after the order of the central government for the approval for the condonation of late in Form INC.28 would get furnished.
- For the condition when the form CHG 1 would get furnished via the company or the charge holder above 300 days from the date of charge transformation, the application to the Government for condonation of delay requires to be filed in Form CHG 8 post-filing the same eForm and the identical Form shall get processed via ROC post to the order of Central Government for permission for condonation of delay in the Form INC.28 has been filed.
Required Documents for e-Form CHG-1
The following documents must be submitted along with Form CHG 1:
- Instruments of creation and modification of charges, such as sanction letters or loan agreements.
- Information about each joint charge holder.
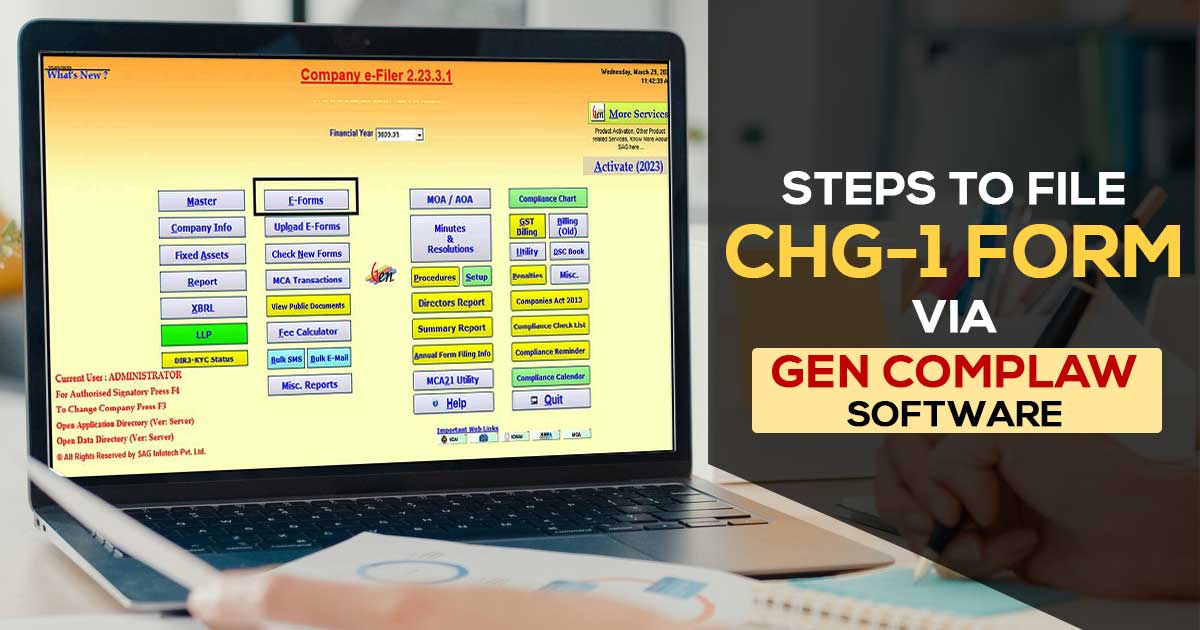
Steps to File CHG-1 e-Form via Gen Complaw Software
Step 1: Install Gen Complaw Software on your PC or desktop
Step 2: Select Option “Company Info” Then Creation of Charge
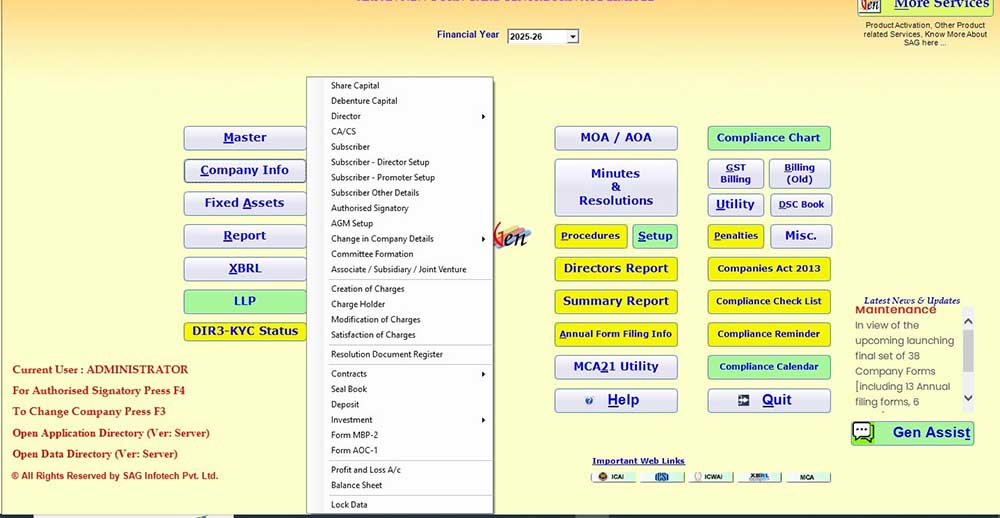
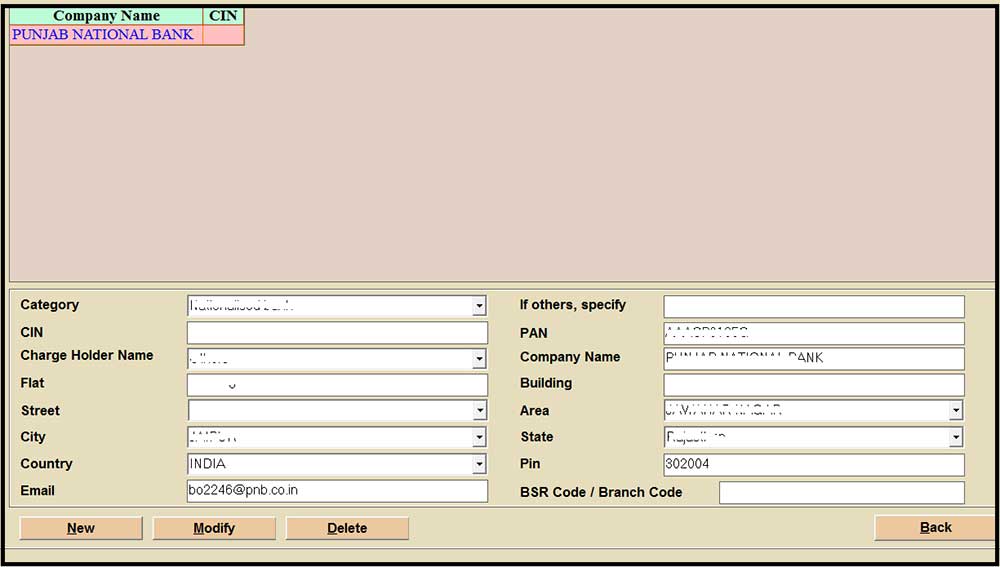
Step 3: Select New Charge Holder Option
Step 4: Provide the Details of the Charge holder (Such as Bank)
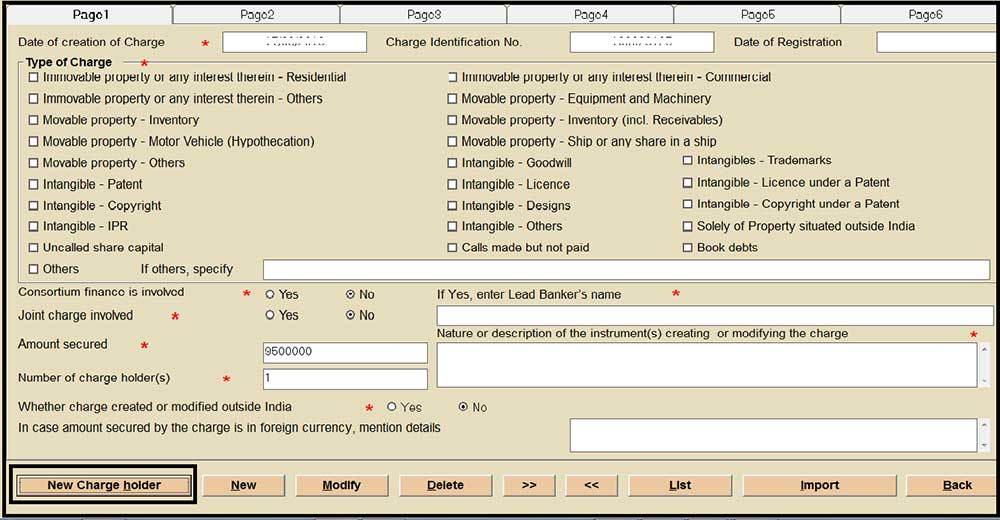
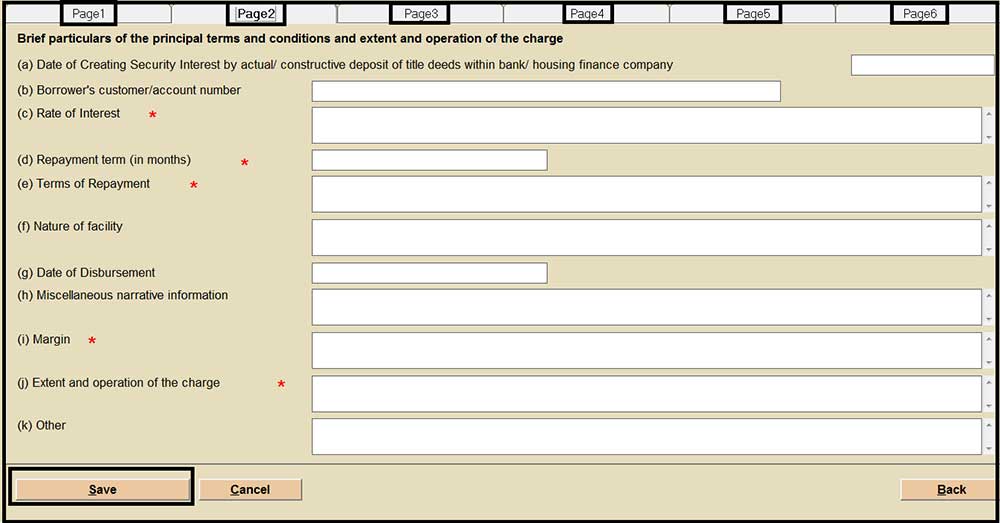
Step 5: Provide the Relevant Details of the Form Page-wise from Pages 1-6 and Save the Form
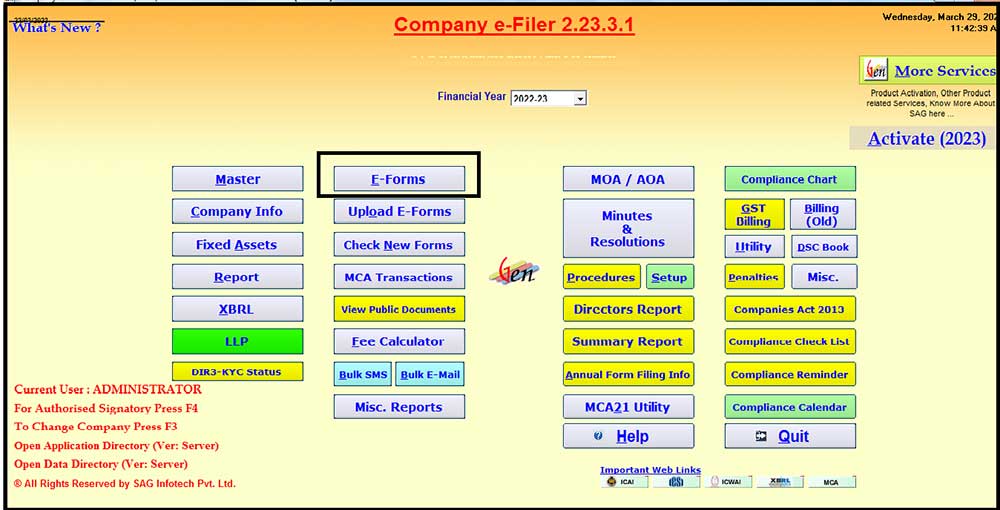
Step 6: Select Option “E-Form” and click on Charge Related Form, after that tap on E-Form Chg-1
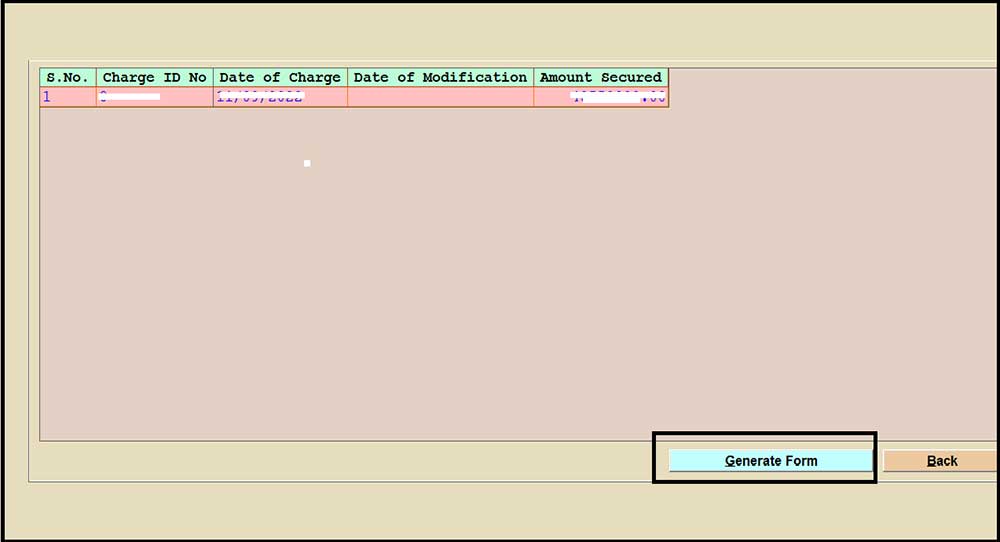
Step 7: Select Generate Form Option as Shown below
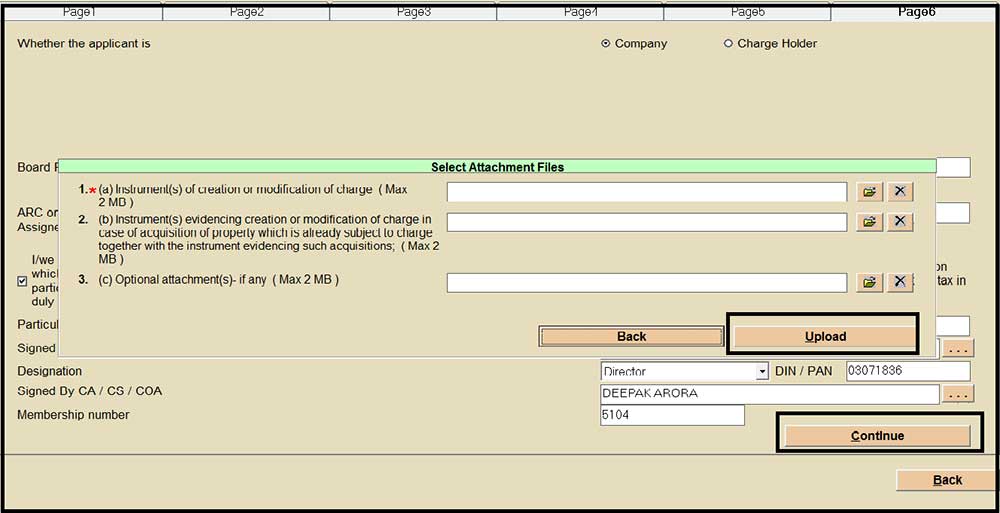
Step 8: Select Continue and Select the Upload Option to Upload the Form
Step 9: Select the Relevant ID from Which You Want to Upload the Form and Do the Further Process