GST Input Tax Credit (ITC) is related to a taxable entity. Under the CGST Act, ITC includes IGST and CGST, while under the SGST Act, it includes IGST and SGST. These taxes are imposed on each supply of goods and services used or intended to be used in the course of business. ITC also includes tax payable under sub-section (3) of Section 7.
These definitions are found in section 2 (57) of the MGL (Model GST). In a nutshell, input tax credit means that while paying taxes on output, a company can deduct the tax it paid on inputs.
Steps to Process Maintaining ITC Ledger Via Gen GST Software
Step 1: After signing India’s best Gen GST Software, tap on the Return option after that select input tax credit.
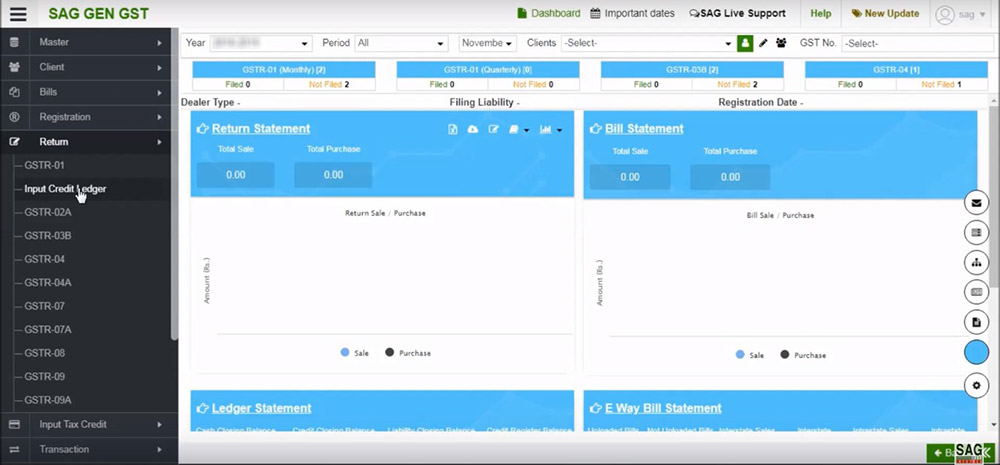
Step 2: The input credit ledger is ready to calculate the right amount of input tax credit according to rules 37, 42, and 43 of the CGST rules the correct ITC amount available. In the GSTR-3B form, ITC reversal is to get filed for the admission of the credit that could be merely claimed and non-compliance could be prevented. The user is obligated to choose the client.
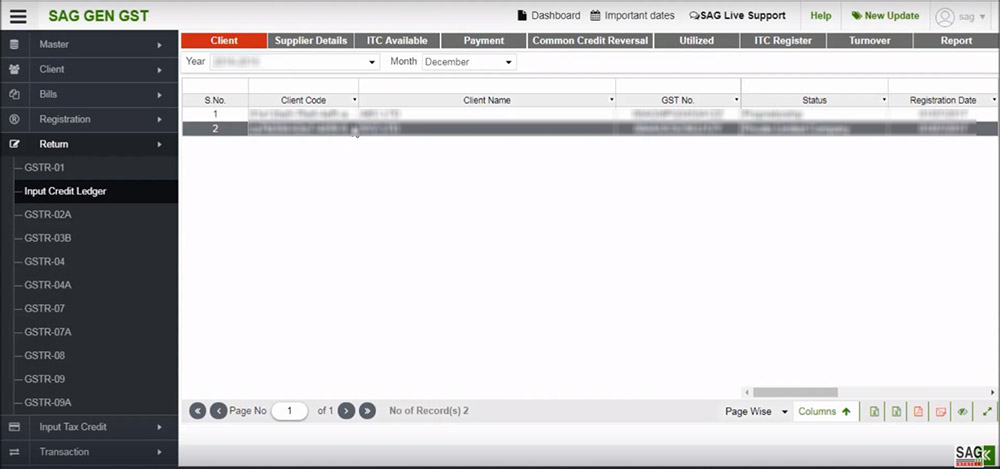
After that tap on the Supplier tab, and a new window will be opened where the user has to Tap on Add button.
A new page shall get opened in which we furnished the 2 choices for the convenience of the user i.e new and import.
When the user chooses the import radio button, he or she would get enabled to import the information of the supplier, there is a drop-down list shown for the convenience of the user, in which the user could choose the location i.e. Master, Year, Client, and Seller, for importing the data.
Post to choosing the type through the drop-down menu a new window shall get opened, in which the user is obligated to choose the client from the list.
Choose the new radio button, after that drop down, would activate through where the receiver could choose the type (short, description) that he or she wants to insert in the new record, a new window shall get opened in which the user is obligated to fill all the information which is needed. Post-filing saves the information and moves further.
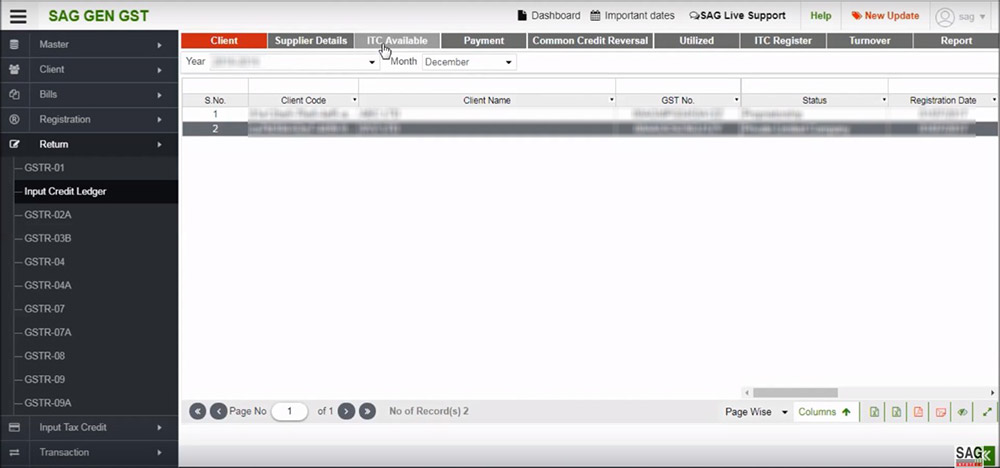
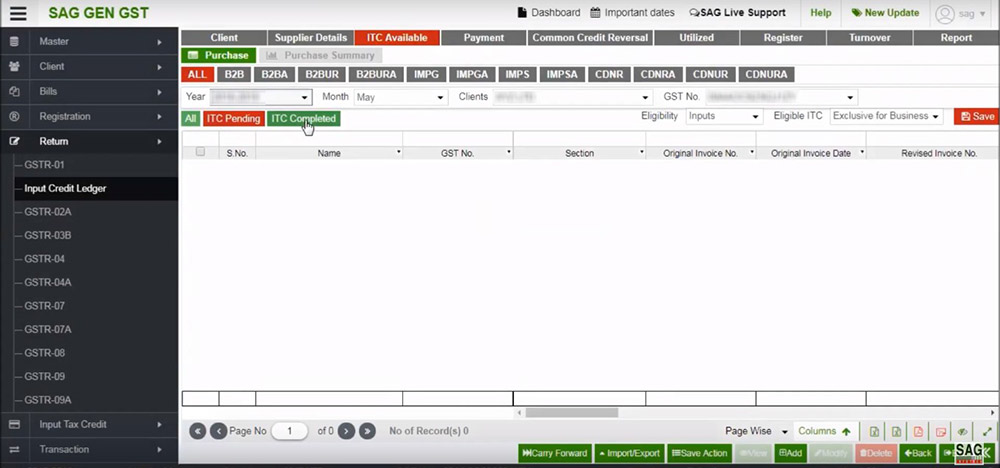
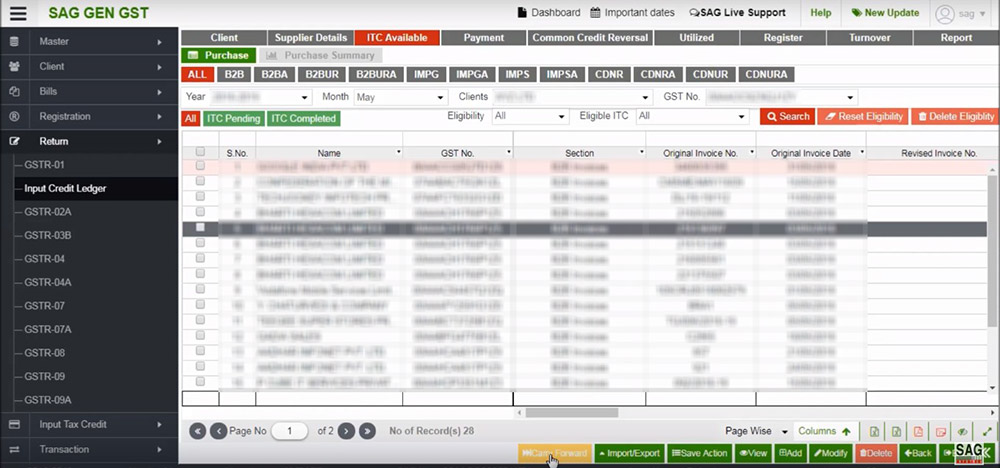
Step 3: Post to that tap on the option ITC available all the purchase invoices are required to get added within a month, the total available ITC according to the books could be assessed, and then ITC available should be divided into groups such as exclusive for business i.e. Eligible ITC and Non-Business, Exempted, and Ineligible categories i.e. Ineligible ITC to be reversed under regulations 42 & 43.
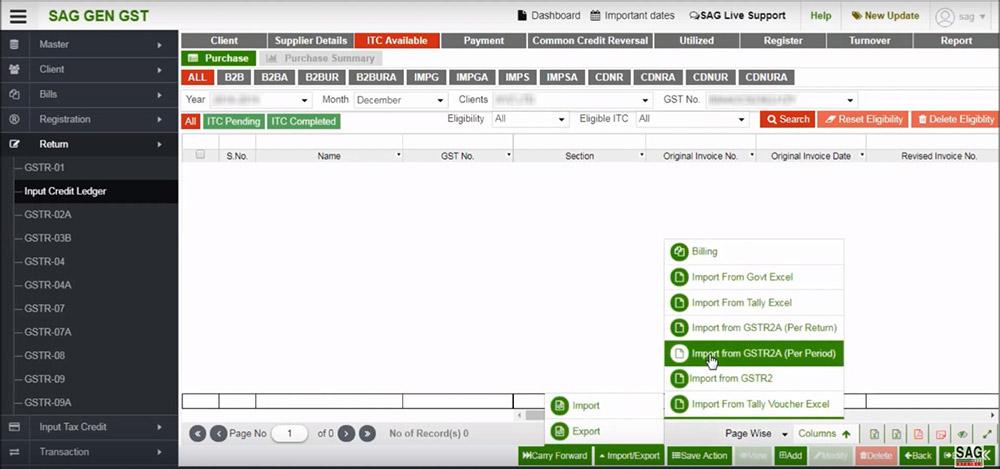
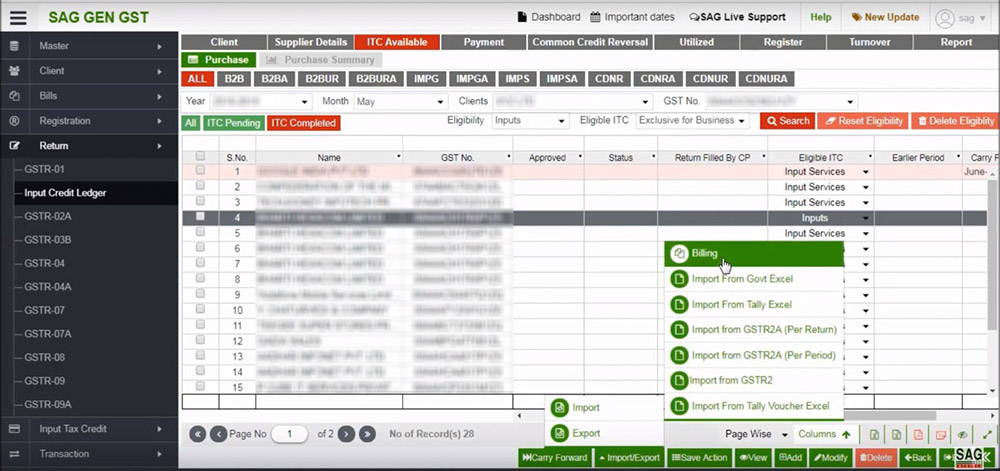
Step 4: You may import and export data by using the import/export button. You are enable to import data from 2A/2B and GSTR-2 Govt. Excel, Tally Excel, and various options are given above.
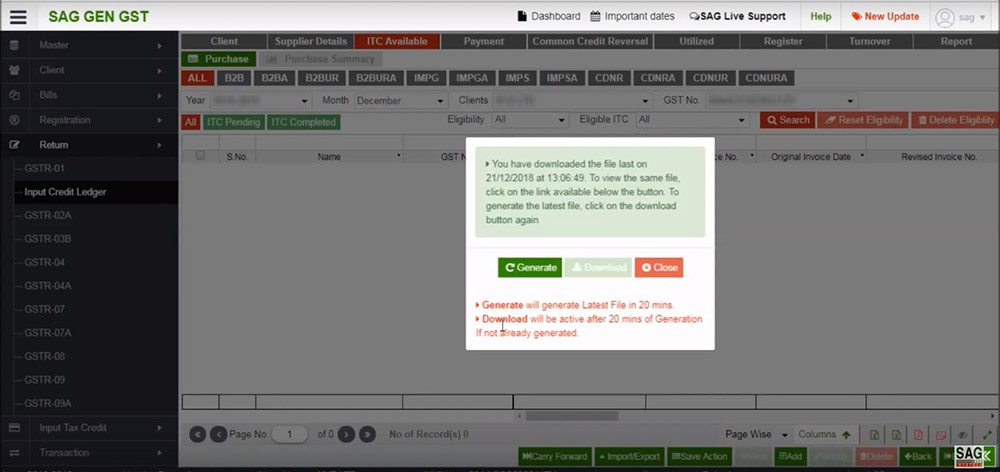
Step 5: If you get a pop-up after clicking GSTR-2A/2B, it implies your GSTR 2A/2B details were not previously downloaded in the software, and you may produce them by clicking the generate button.
Step 6: If you already have the GSTR-2A/2B data in the software, you may see all invoices or invoices by GSTN.
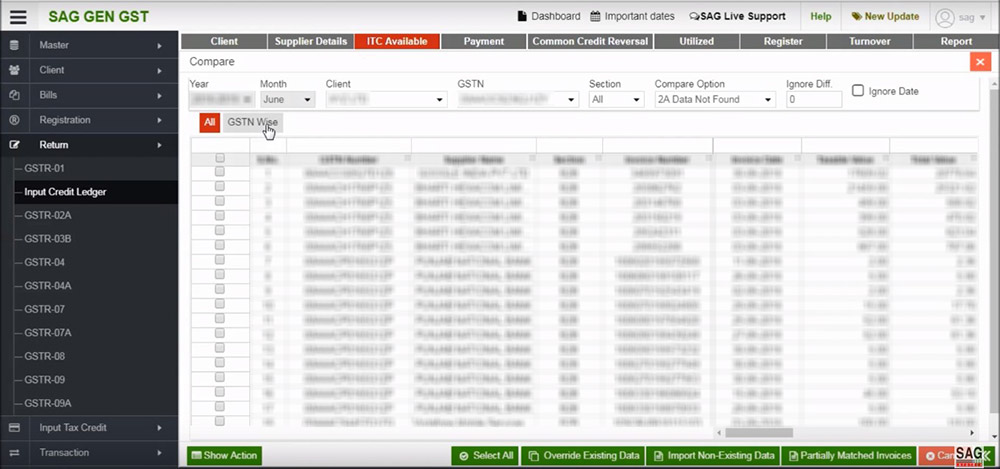
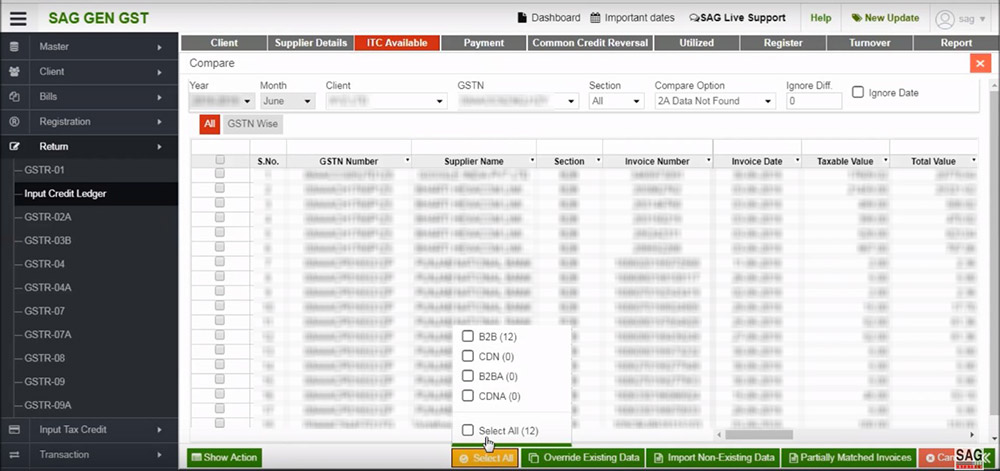
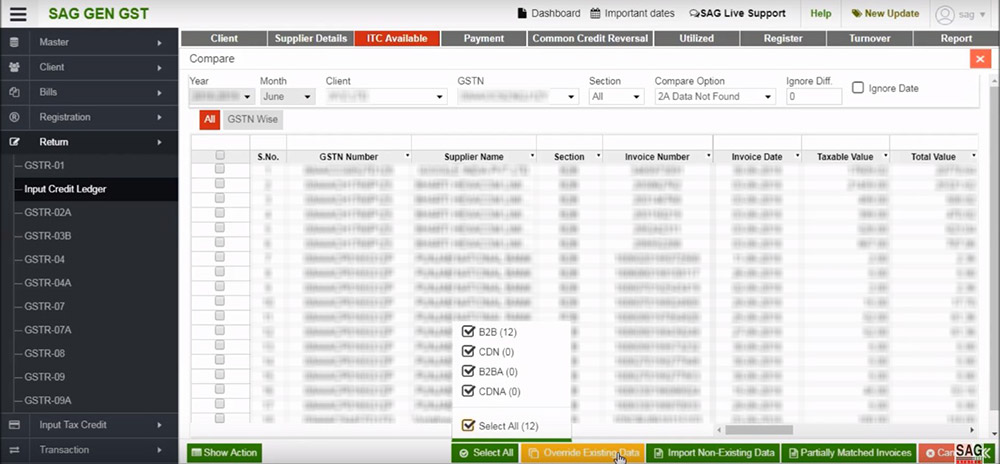
Step 7: Following that, a comparison Pop-up will show, entries in software matching with 2A/2B, GSTR 2A/2B data mismatch, Not matched in 2A/2B, and so on. If you wish to import all invoices that were not detected in GSTR-2A/2B in the input credit ledger, use the choose option and select all.
Step 8: Override existing data and importing non-existing data are the two ways for importing data into the input credit ledger.
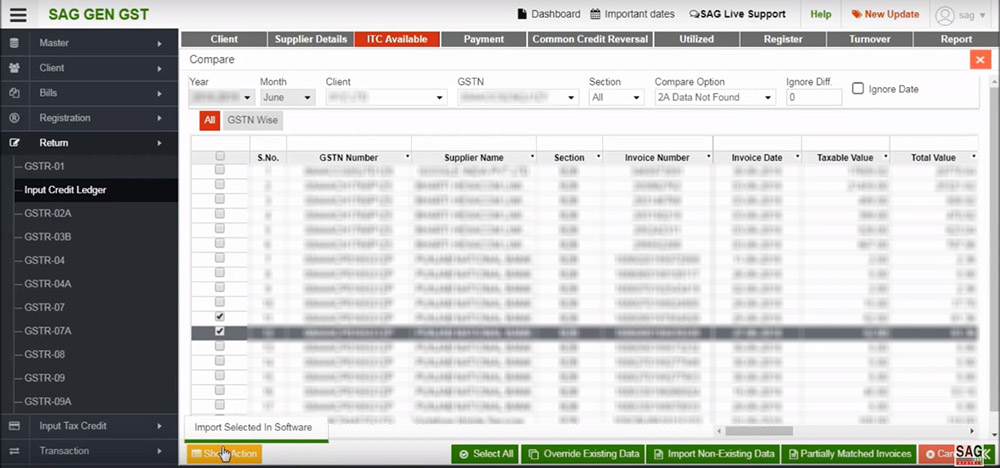
Step 9: You may now import data invoice by invoice by clicking on the “show action” option and selecting the invoice you wish to import into the software.
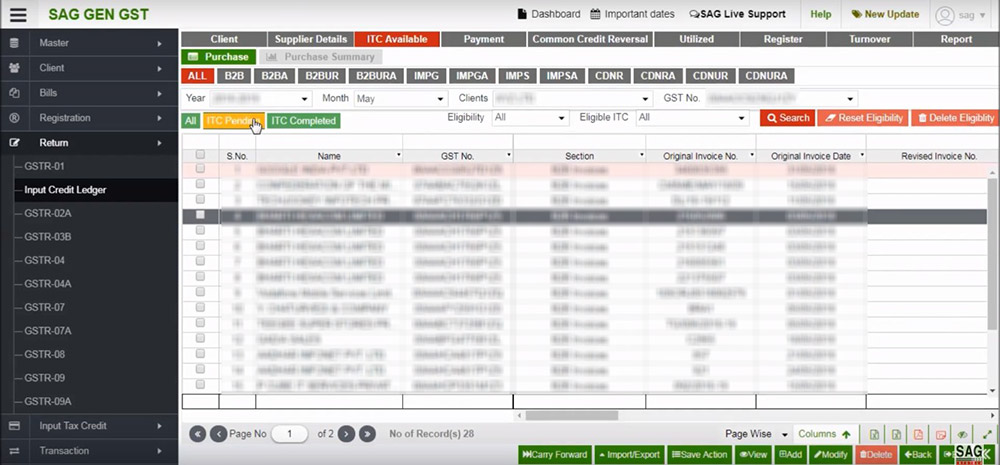
Step 10: All invoices added or imported into the ITC Ledger will be displayed first under the ITC pending option.
Step 11: Select the Type of Eligibility, such as Input, Input Services, and Capital Goods, to be used for all bills.
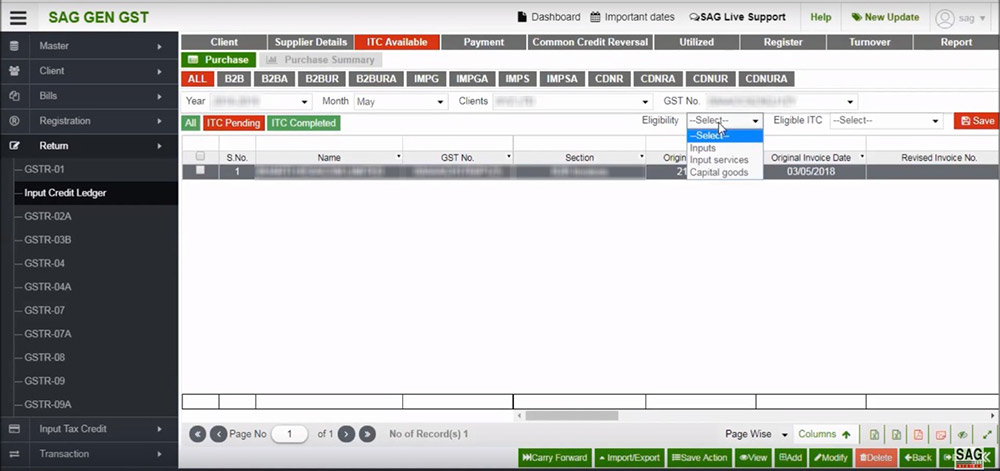
Now, whether ITC in a given invoice is eligible or not, it must be selected from the combo box “ITC set off” where a purchase made exclusively for business is eligible and must be designated as exclusive for business.
Ineligible ITC is an ITC that is not accessible as per section 17(5) of the CGST Act, and Non-Business ITC, Exempted & Nil Rated Sales are other options for ITC Reversal under Rules 42 & 43. Where a person trades in both taxable and exempt sales/income and purchases are made for both, the remaining ITC that does not fit within the aforementioned categories will be set in common.
Step 12: Now the ITC would get eliminated from the option of ITC pending and shown in the ITC finished option.
Step 13: Post import of the 2A/2B option, If you have added the billing option to our software, you may also import purchase data.
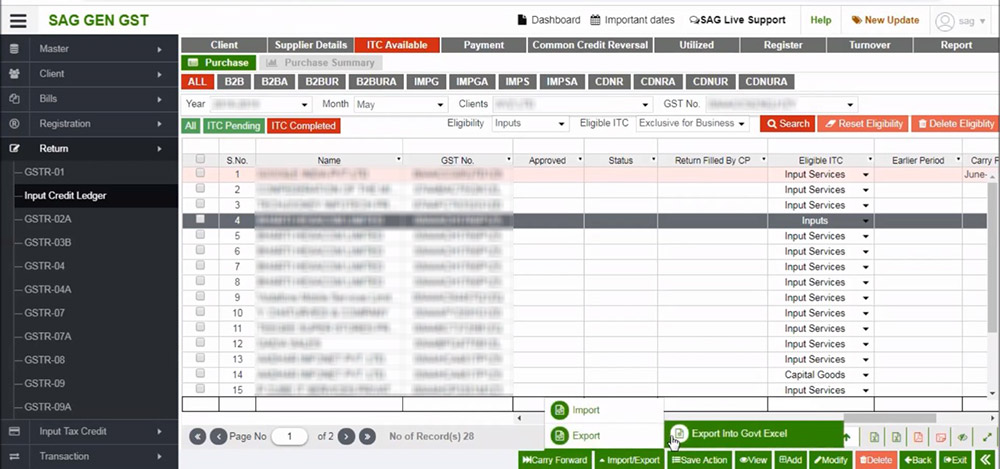
Step 14: You are enabled to export the data in export into Govt. excel.
Step 15: You can manually enter your data by using a specific section. First, click the B2B button. A new window will appear, and the user must click the add button, as seen below.
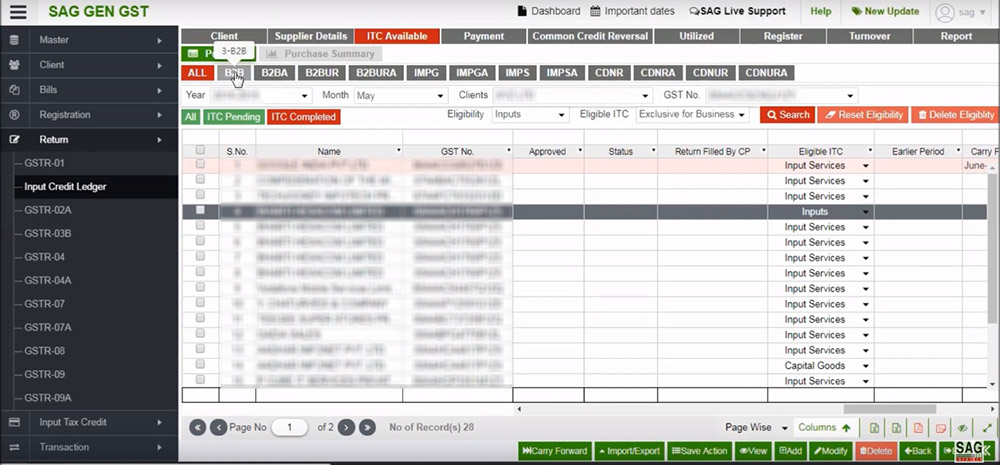
When the user clicks the Add button, a new window is opened. Where the user must fill out all of the required information.
If there are many things and various forms of eligibility, the ITC of a certain invoice can also be set off.
Step 16: Some of these invoices allow ITC to be carried over into future months if it cannot be used in the current month for whatever reason.
You may eliminate eligibility from the delete eligibility ITC and reset again after setting all of the invoices in the set eligibility tab.
Step 17: The ITC purchase summary is accessible via the tab labelled “buy summary.” It displays the total ITC for every month, every quarter, every half-year, and every year. ITC is accessible and includes a summary of the Dr./Cr. Remarks.
Invoices that were carried forward will be included in the month they were carried forward. Only business and net ITC will be included in the total ITC available.
Step 18: The second option is payment, reversal as per rule 37(2) where ITC is available for a specific invoice but payment for such invoice is not made within 180 days of the invoice date, at which point ITC is available to be reversed and added to output liability and on subsequent payments, it shall be added again in the month in which payment is made.
Step 19: To access the invoices whose ITC are specified in the ITC available page and will be shown on the payment tab, click Get Invoice.
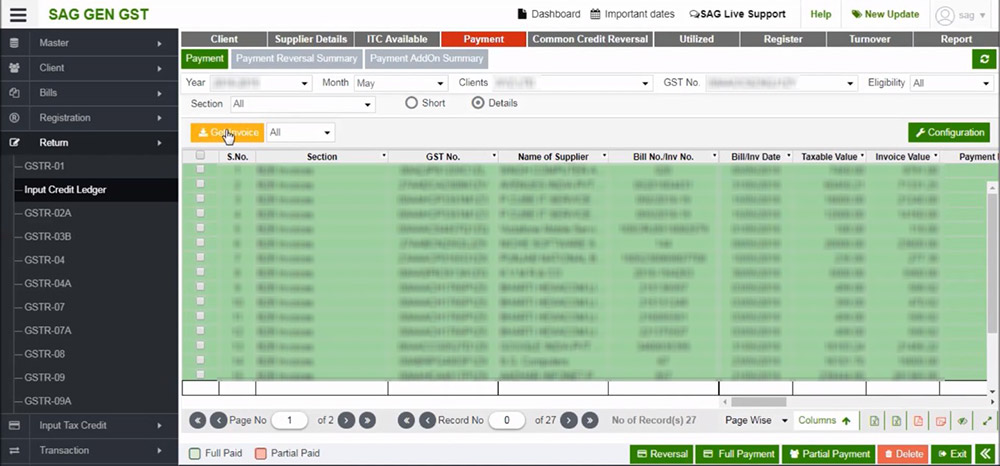
To set the complete payment of the chosen bills as well as the payment date, click the Save Full Payment button now. A specific invoice’s payment date can be manually entered or stored as the invoice date using the two radio buttons.
- Payment date as invoice date
- Set Payment date as. Payment date as invoice date is utilized to set the payment date as he/she has cited in the invoice date.
The term “set payment date” refers to the ability to choose a date that works for you. When a user selects the radio button to “Set payment as,” a text box appears, requiring them to input the date before selecting the “Set” button.
For the case of Partial payment “Payment Configuration,” button is given. You can set the details up to which decimal payment to be rounded off.
Rate-wise set off: Payment may be divided into multiple items according to a lower rate, higher rate, or proportionally if a given invoice contains items with varying rates. The software will split payments based on your preferences.
Eligibility ITC Type: Payment must be set off following ITC kinds, such as First for Inputs, Input Services, and Capital Goods, or by your choice.
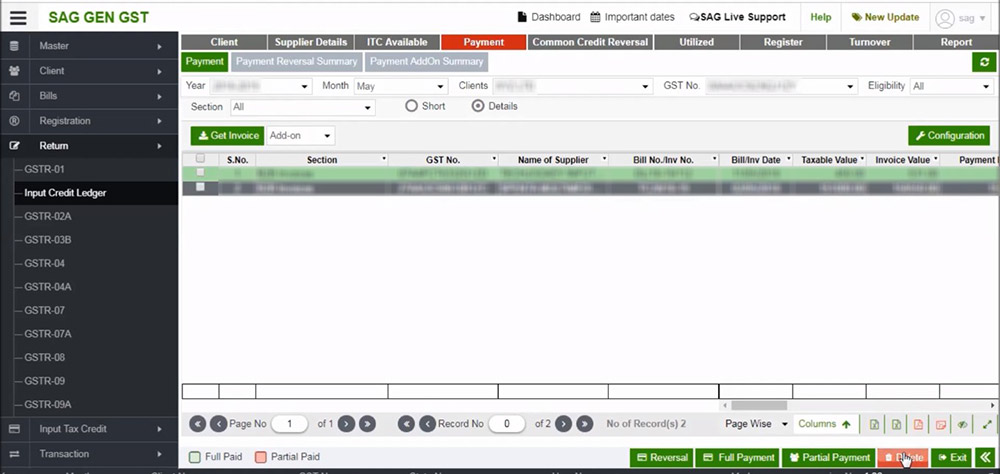
If an invoice has been paid in part, click the button labelled “Partial Payment” as illustrated above.
After that, a new window will appear with information about that specific invoice and the due date for payment shown.
Now enter the payment amount and the due date.
The software will determine the amount of the payment owed. Similar to the first payment, further payments with various dates may be made for the same invoice.
When the due date has expired and there is still an unpaid balance, an invoice must compute an automated reversal. Any payment received after the due date will be considered an addition, and any previously reversed ITC will be added back in the month the payment was made.
Step 20: Additionally, there is a delete button at the bottom of the page if one wants to remove payment details that were entered incorrectly.
The ITC that was reversed by rule 37(2) must be disclosed in the payment reversal summary, and any additional ITC must be shown in the payment add-on summary.
Once you have selected the Payment Summary page, a new window will appear with the Payment Reversal Summary shown first.
Click the Payment Add-on Summary tab to display the summary of the payment add-ons.
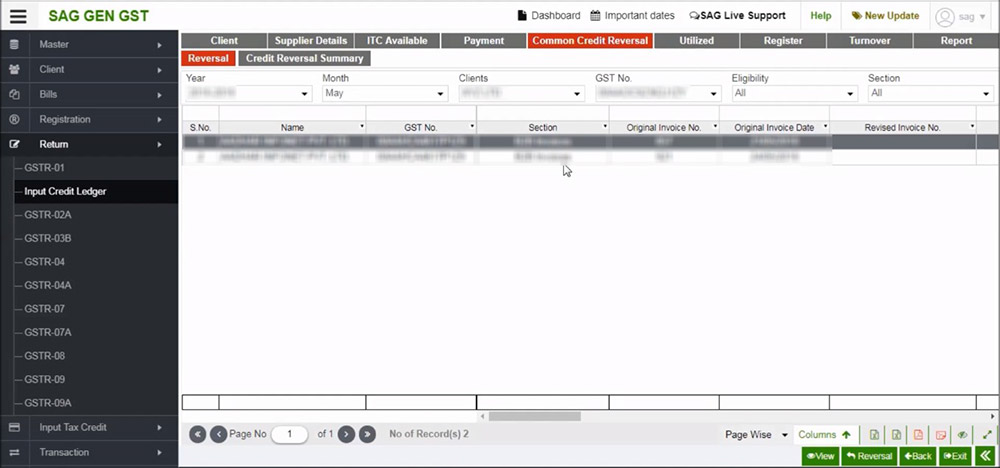
Step 21: The next option is Common Credit Reversal
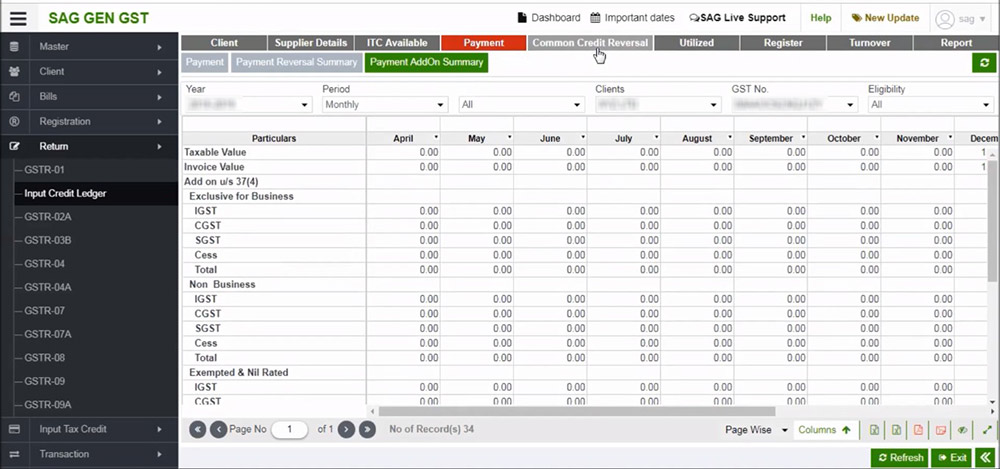
Step 22: Now ITC is set as common ITC to be reversed per rules 42 and 43 from the common Credit Reversal page. This page will provide all the invoices designated as common ITC under the ITC available tab.
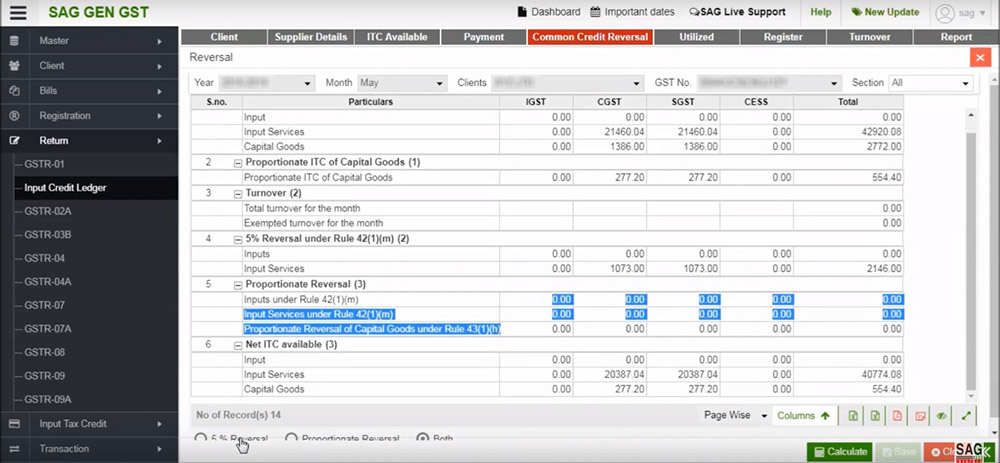
Step 23: Then, select Reversal to automatically compute the ITC reversed following the laws. Below, you will see three options: 5% Reversal, proportionate Reversal, and both alternatives.
Step 24: Choose a 5% Reversal If goods are partly utilized for business and partly for the purpose of non-businesses.
Click on proportional reversal if products are used partially for exempt and partially for taxable purposes.
When using items for both exempt and non-business purposes, choose both to compute the reversal.
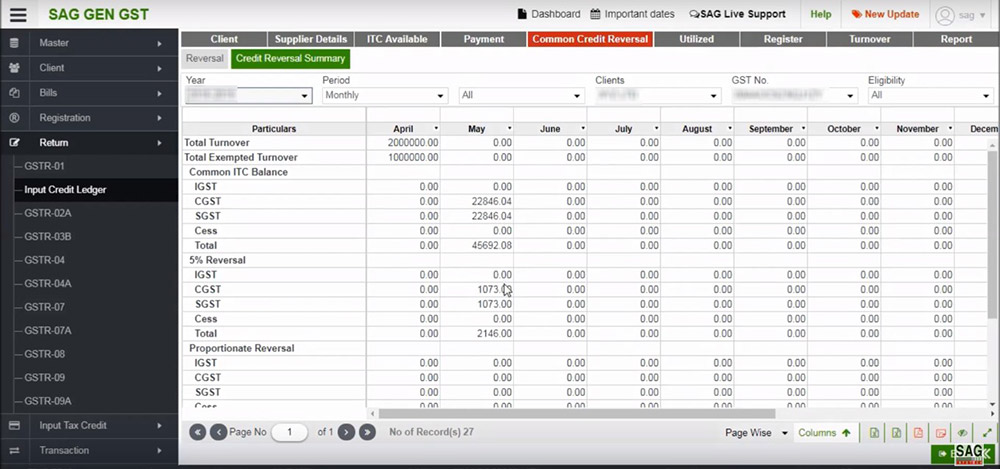
Step 25: After that, select the Credit Reversal Summary option.
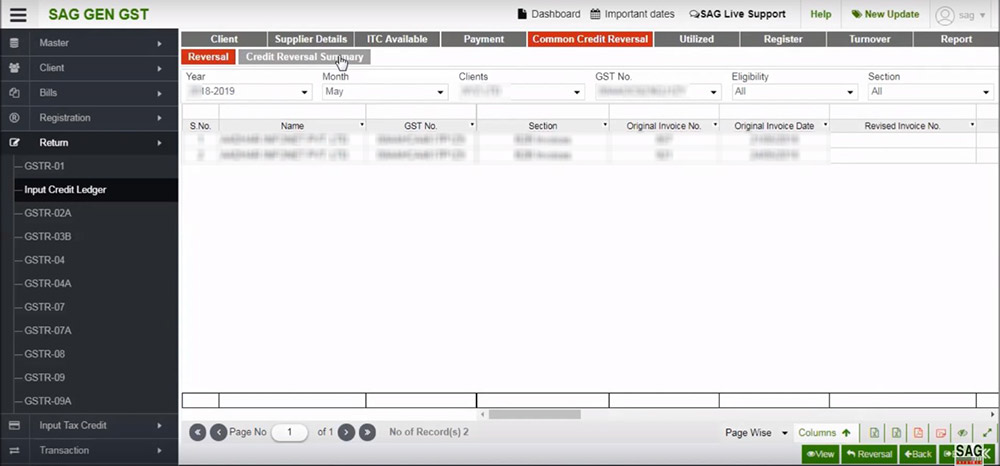
Step 26: You may examine all of your 5% Reversal information or proportionate Reversal details in the summary option.
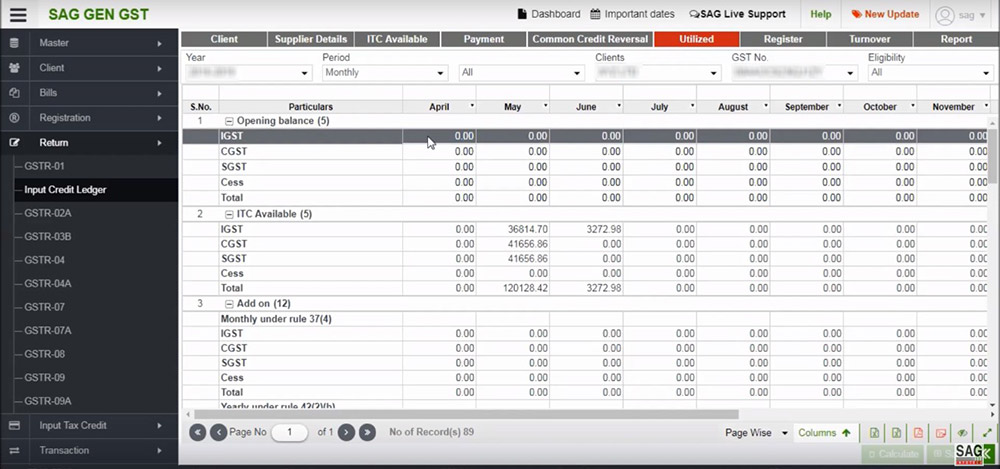
Step 27: After that tap on the utilized option

Step 28: The opening balance of the month for which the register is initially created, should be manually entered in the box. Rest will be determined automatically. The entire ITC that is available will be seen under the ITC Available tab, and the monthly add-on will be found under the Payment Add-On Summary. manually installed yearly add-on. Payment reversal summary and ITC availability must be used to compute the reversal. There must be balance available for use, less reversal. Used to be filled The closing balance will be used to determine the balance for usage. A new window with two radio buttons will open when the user clicks the Utilized tab. collapse Expand All and All.
Step 29: Post tapping on the utilized option, tap on the register option
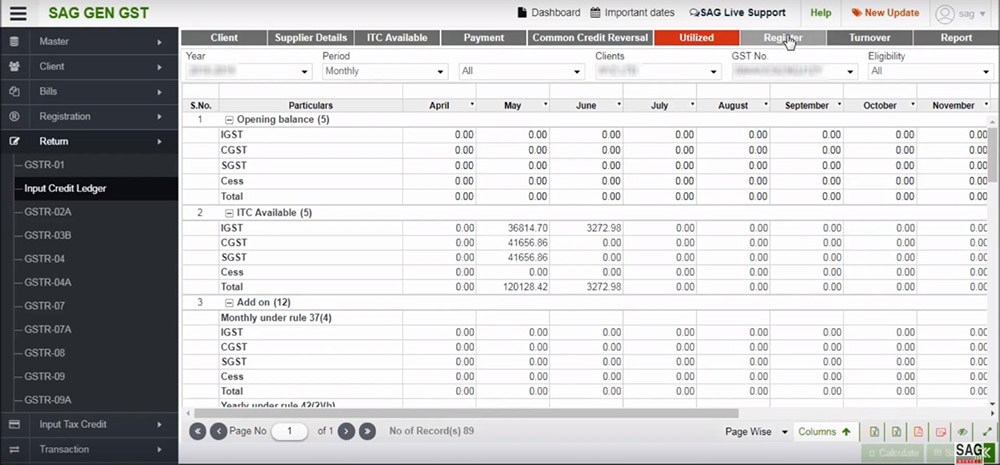
Step 30: ITC register, which displays all of the purchase invoices and Dr/Cr Notes for a given month, is an ITC report. ITC set in these invoices will be shown in ITC available and ITC set as reversal will be displayed in ITC reversed column. Net ITC available will be Net ITC available for the particular month. With Dr/Cr Note and reversal under rules 37(2), 42, and 43 of CGST Rules 2017.
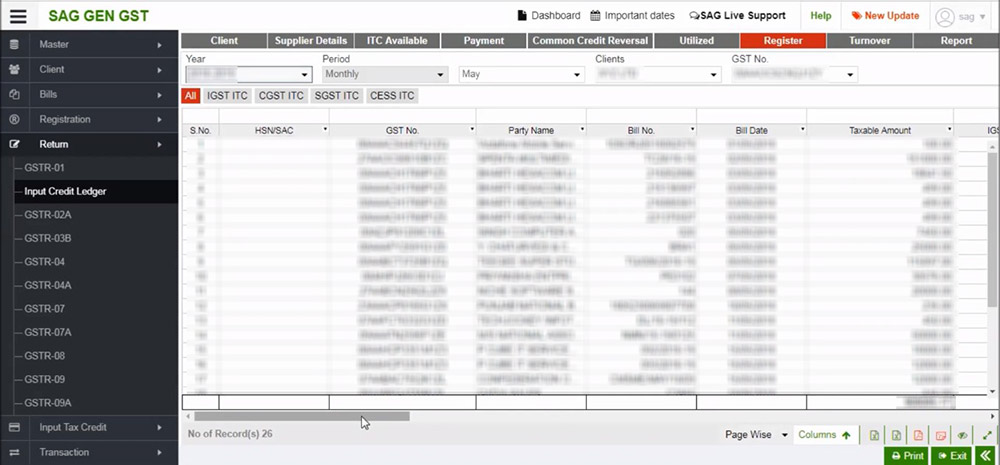
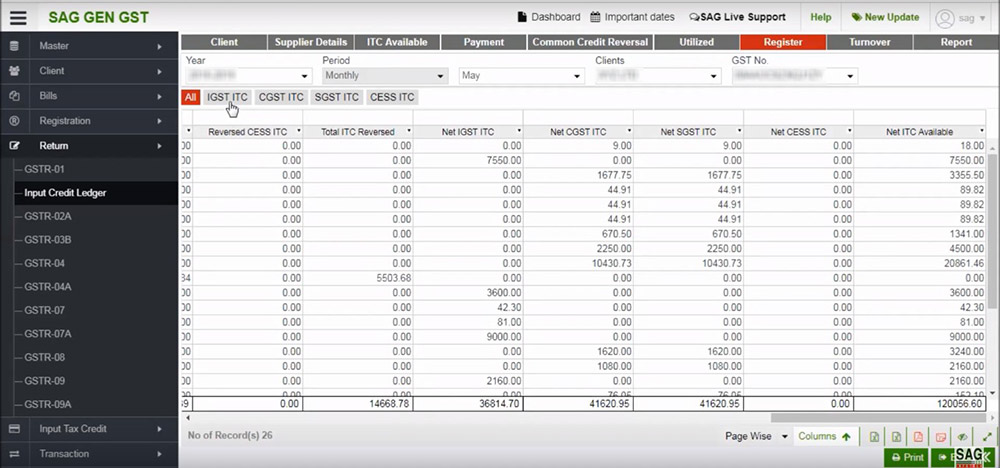
Step 31: You may also review information based on IGST, CGST, SGST, and CESS.
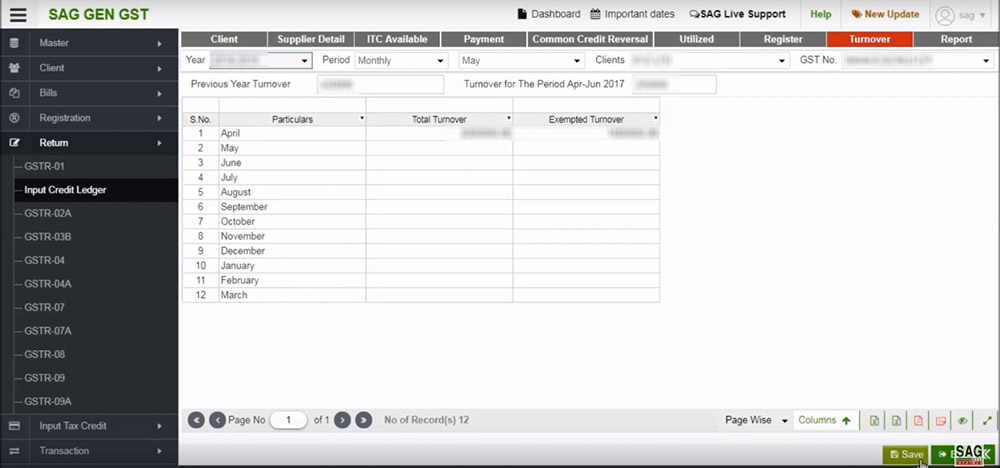
Step 32: Click the Turnover button to save the turnover and compute the reversal.
The user must then fill out the previous financial year’s turnover and the monthly turnover in a new window that will then appear. After filling in the information, tap on the “Save” button.
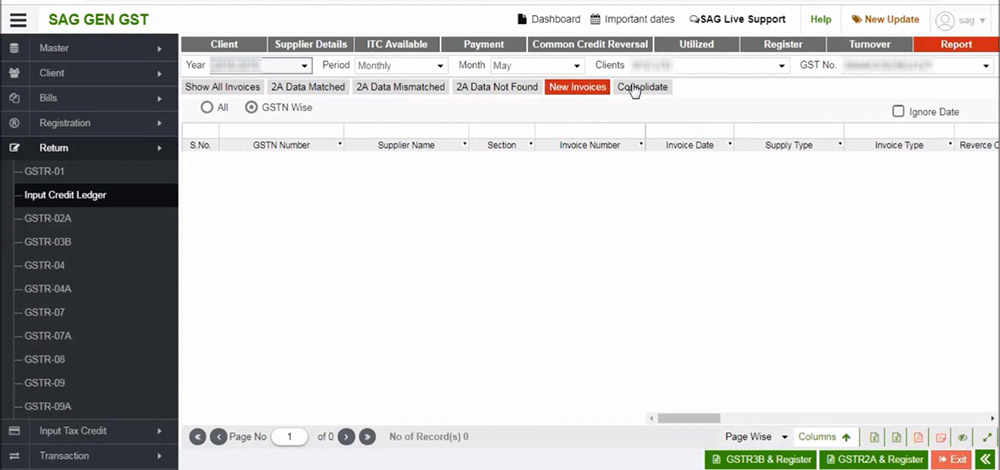
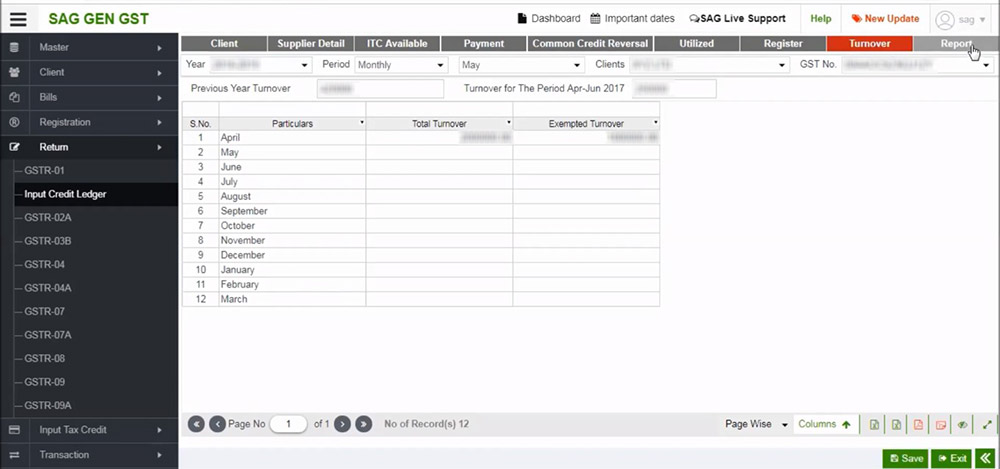
Step 33: Post tapping on the turnover tab, tap on the report option
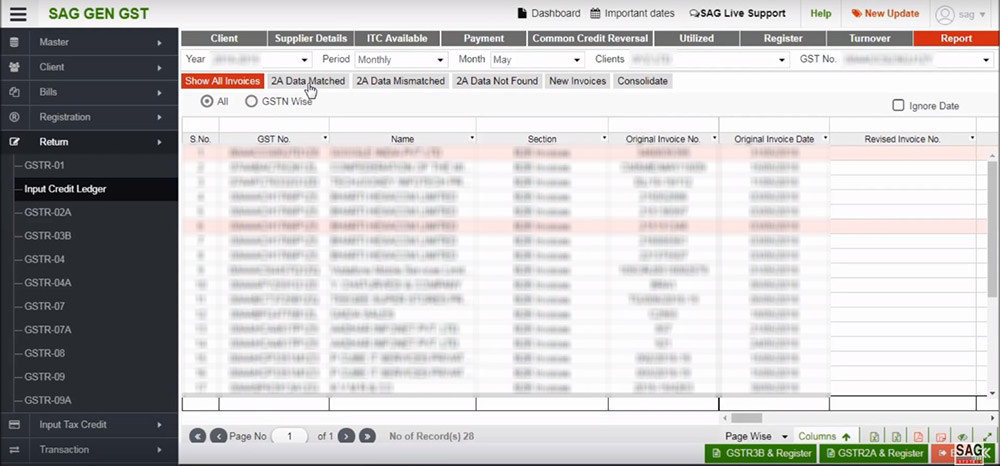
Step 34: In the section of the report, you can reveal that there is an invoice distinction that you obtain via 2A/2B data.

Step 35: Tap on the 2A/2B data matched option, the same option displayed the matched details of the invoice which you fill manually, import via excel, or import via 2A/2B.
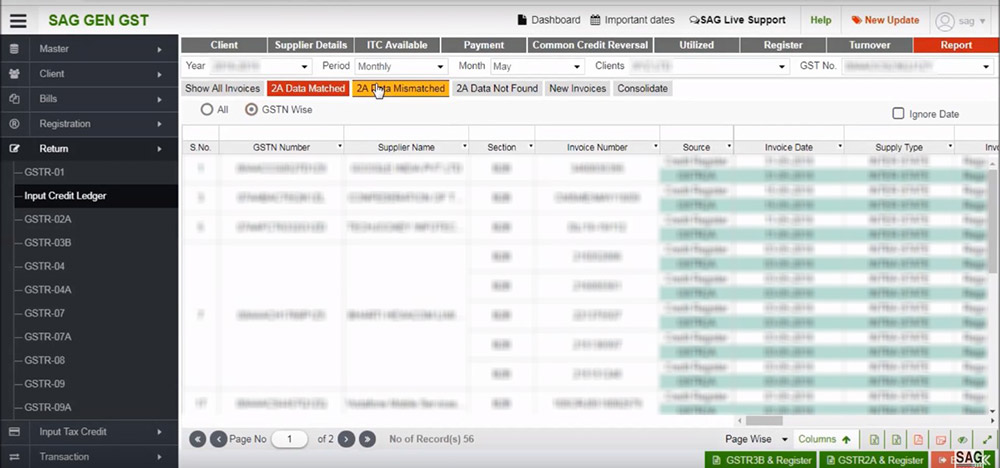
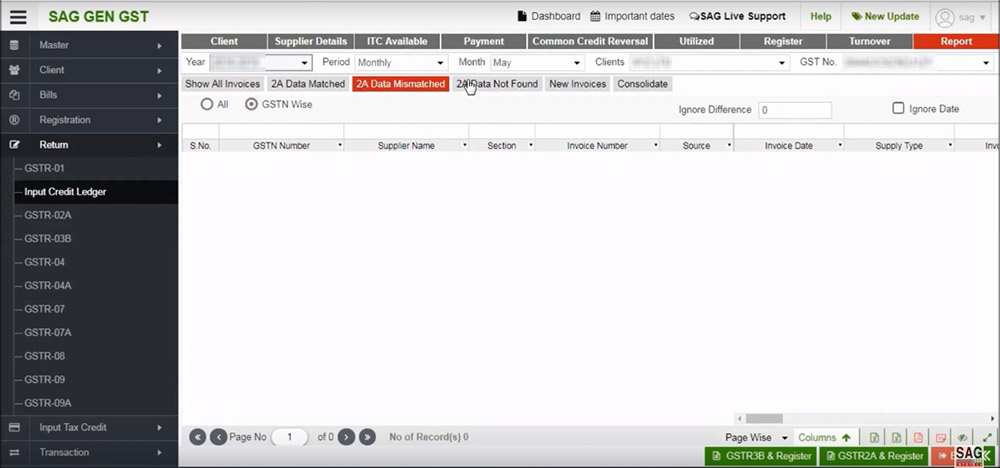
Step 36: Post tapping on the 2A/2B data matched tab, tap on the 2A/2B data mismatched tab, when the invoice would have mismatched in 2A/2B or register you could see the same in the tab.
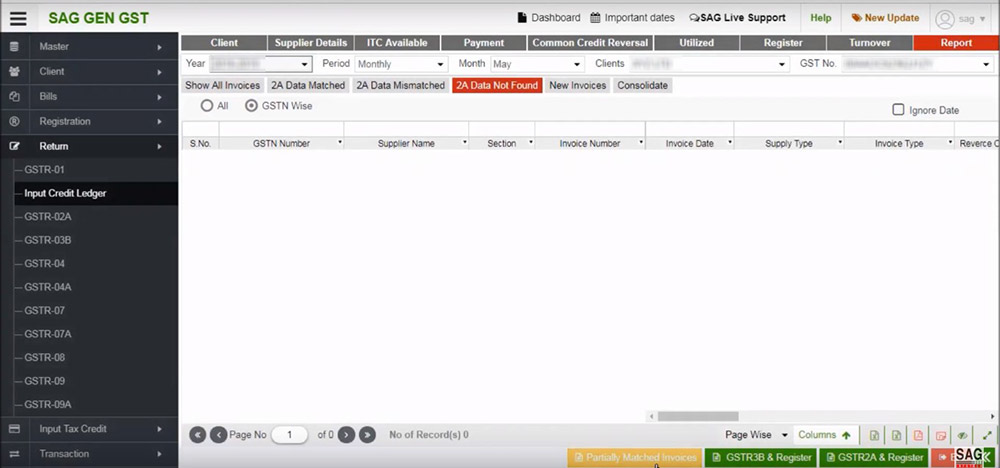
Step 37: Tap on the 2A/2B data not found an option, inside that you could see the data which is able to be displayed in 2A/2B, however, couldn’t import it in the register option.

Step 38: Tap on the 2A/2B data not found option, the data that is viewable in 2A/2B but not importable in the register option can be viewed in this tab.
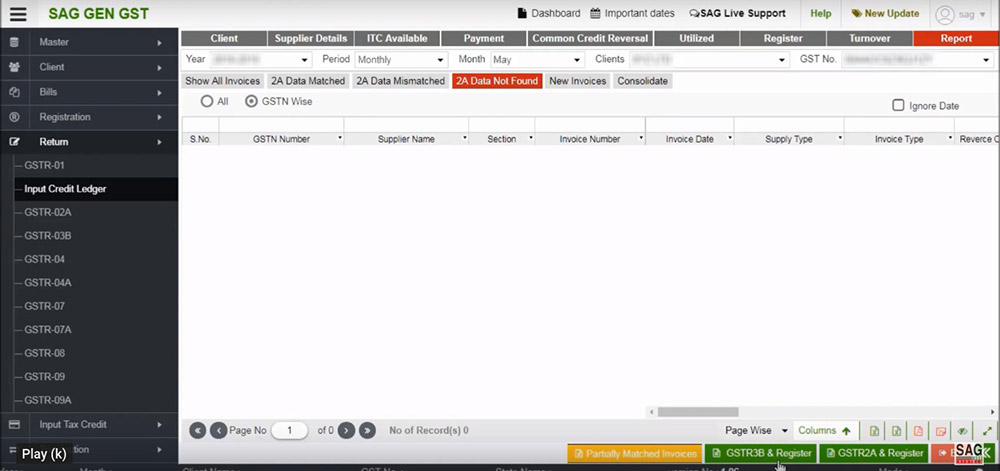
Step 39: You may adjust the difference in the partially matched invoices option.
Step 40: You may also examine the comparison between GSTR3B & Register or GSTR2A/2B & Register under the “2B data not found” option.
Step 41: You may examine the invoices that were manually entered into the register but weren’t reflected in 2A/2B data by clicking on the new invoices option after clicking the 2A/2B data not found page.
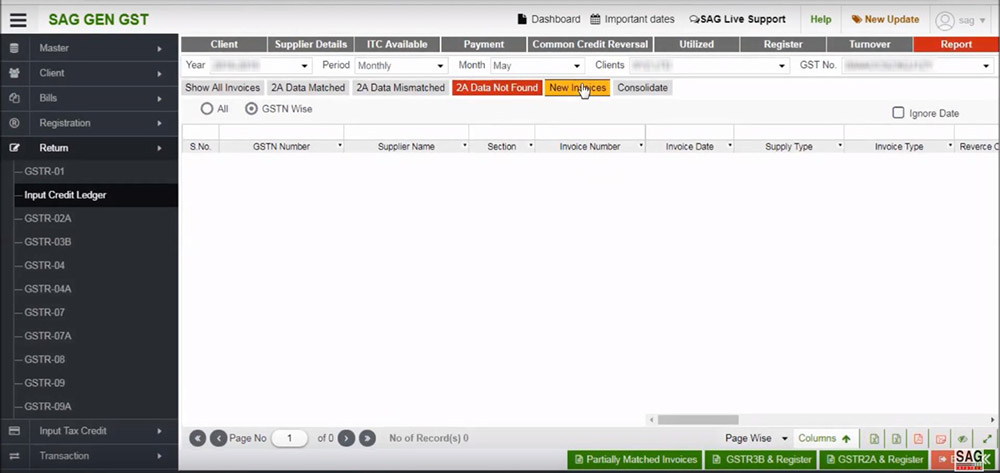
Step 42: 2A/2B data matched, 2A/2B data not found, and new invoices.